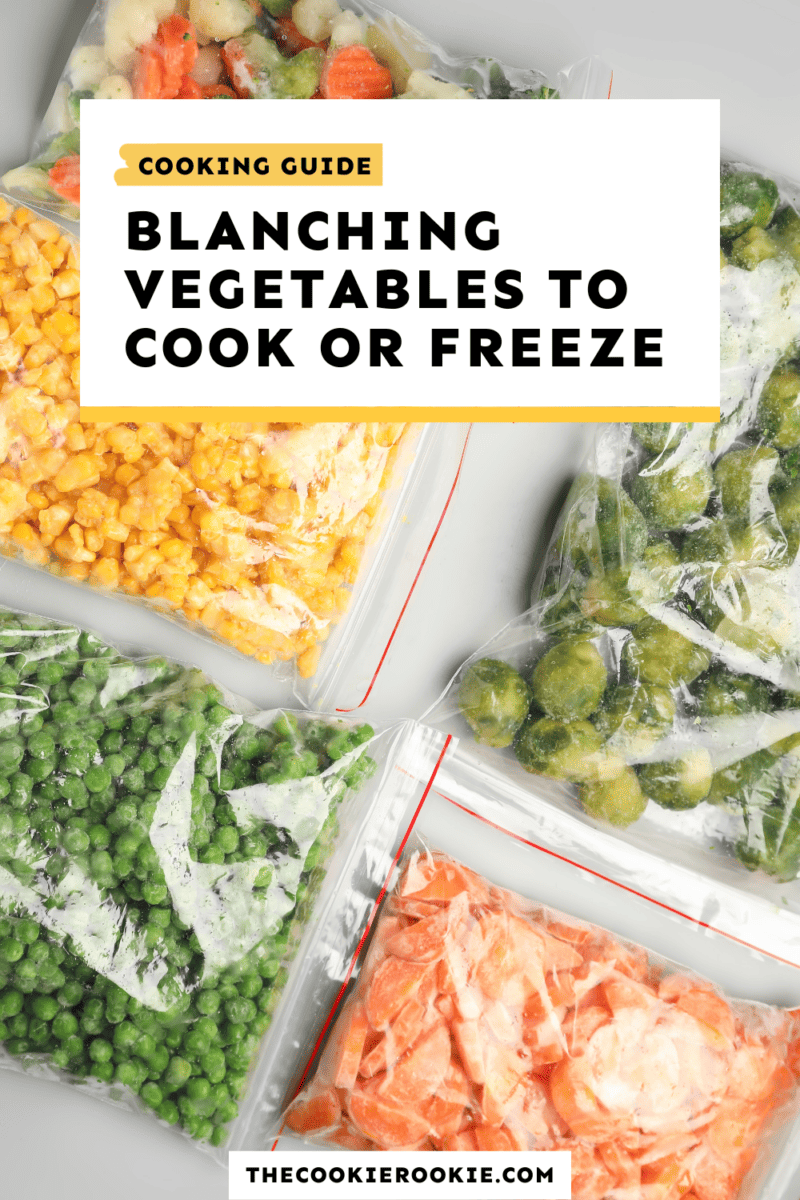
Blanching vegetables is a common technique used in cooking and food prep, but what is blanching? This method has many uses, whether you want to par-cook vegetables or prepare them for freezing. Once you learn how to blanch vegetables, you’ll be using this simple cooking skill all the time!
This post may include affiliate links that earn us a small commission from your purchases at no extra cost to you.
Blanching Vegetables
If you’re wondering what it means to blanch vegetables, you’re in the right place. Is there a recipe instructing you to blanch something? Are you trying to freeze fresh veggies, but you’re not sure how to start? This is a basic cooking skill everyone should learn, and it’s very easy.
Keep reading to find out what blanching is, why you need to do it before freezing veggies, and how to blanch vegetables (step by step)!
What is Blanching?
Blanching is the process of quickly and briefly cooking food (in this case, vegetables) in boiling water for just a few minutes, then plunging them into ice cold water (an ice bath) to stop the cooking process.
Why do you blanch vegetables?
- Par-cooking: Blanching is often used as a way to par-cook vegetables (partially cooking, before finishing with another method).
- Cooking: Sometimes, you may even blanch veggies and serve them as is. This is a great option if you want your veggies slightly more tender than raw, but with the same freshness and crispness. It also gives them a beautiful bright color!
- Freezing: It’s also recommended to blanch fresh vegetables before freezing them to store long-term. This helps to protect them against loss of color, flavor, texture, and nutrients while frozen.
- Prepping: Blanching can also be used to help soften or remove skin from some produce. For example, blanching tomatoes allows you to remove the skin before using them to make a tomato sauce.

Email This Recipe
Enter your email and we’ll send the recipe directly to you!
How to Blanch Vegetables (Step by Step)
Regardless of the vegetable you’re blanching, follow these steps! This works for asparagus, broccoli, green beans, cauliflower, brussels sprouts, and lots more.
Step One: Prepare Vegetables
Cut up your vegetables into uniform pieces. You can slice, chop, julienne, or cut them however you want.
Some veggies, like green beans or asparagus spears, can remain whole. But having veggies in smaller pieces will make this process easier. Broccoli and cauliflower should be cut into florets for best results.
Tip: If you have a lot of vegetables, I recommend working in batches and blanching a small amount at a time. This will keep the water at boiling point, and make it easier to get them all in the boiling water and then into the ice bath as quickly as possible. This is also great if you don’t have a large enough pot or a large enough bowl for the ice water.
Step Two: Boil Water
Use a large pot and fill it with lots of water and lots of salt. Your veggies need plenty of space to move around, and they should be fully submerged.
Bring the water to a boil over high heat.
Step Three: Prepare Ice Bath
While the water is working up to a boil, prepare the ice bath. Get a large bowl or container and fill it up with cold water (as cold as you can get) and ice. You want the water to stay as cold as possible, but there should be enough room to plunge the veggies, so don’t go overboard with the amount of ice.
Lay out a dish towel or paper towels next to it. The veggies will rest here after the ice bath.
Step Four: Boil Vegetables
Once the water has started boiling, it’s time to add the veggies. Submerge them in the boiling water and let them cook for 2-5 minutes. You want them to still be tender but not soft when they’re done.
If you’re planning to freeze, you can keep it on the lower end. If you’re going to eat them straight away, go on the higher end.
Step Five: Shock Vegetables
As soon as they hit your preferred doneness, use a slotted spoon or tongs to quickly remove them from the boiling water and plunge them into the ice bath.
Let them sit in the water until cooled, and then move them to the dish towel or paper towels to dry out.
Tip: If you are working in batches, keep in mind that you might need to add more ice between ice baths to keep the water as cold as possible.
What to do with blanched veggies
There are many reasons to blanch vegetables, so once your veggies have finished their ice bath and had time to dry out, here are a few things you can do next.
- Serve them as is. Most vegetables are okay to eat raw, so they are okay to eat straight after blanching as well. Make bright and fresh veggies to serve on the side, or chop them up to mix with a salad.
- Store them in the fridge up to a week for quick snacking, or to help with meal prep.
- Take your vegetable platters up a notch. Instead of serving completely raw veggies with ranch dip at your next party, cook them slightly so they are brighter, more tender, and even more delicious. (You can do this ahead of time and store them in the fridge until the party.)
- Continue cooking them with another method. Blanching is a good way to give veggies a head start before either grilling, roasting, or adding to a stir fry.
- Freeze them! Finish prepping your fresh veggies and then store them in the freezer for months. Check below for steps on how to do that.
How long does it take to blanch vegetables?
It doesn’t take long to blanch vegetables. They only need to be submerged in the boiling water to cook for about 2-5 minutes at most. It’s a quick process, and the vegetables need to be immediately transferred to the ice bath. So set a timer, and start testing them for tenderness about 60 seconds in.
What vegetables are good for blanching?
You can blanch almost any vegetable, either to par-cook or to prepare for freezing. These are some of the veggies that work best with this method:
- Asparagus
- Broccoli
- Snap Peas
- Green beans
- Brussels sprouts
- Cauliflower
- Tomatoes
How to Freeze Vegetables
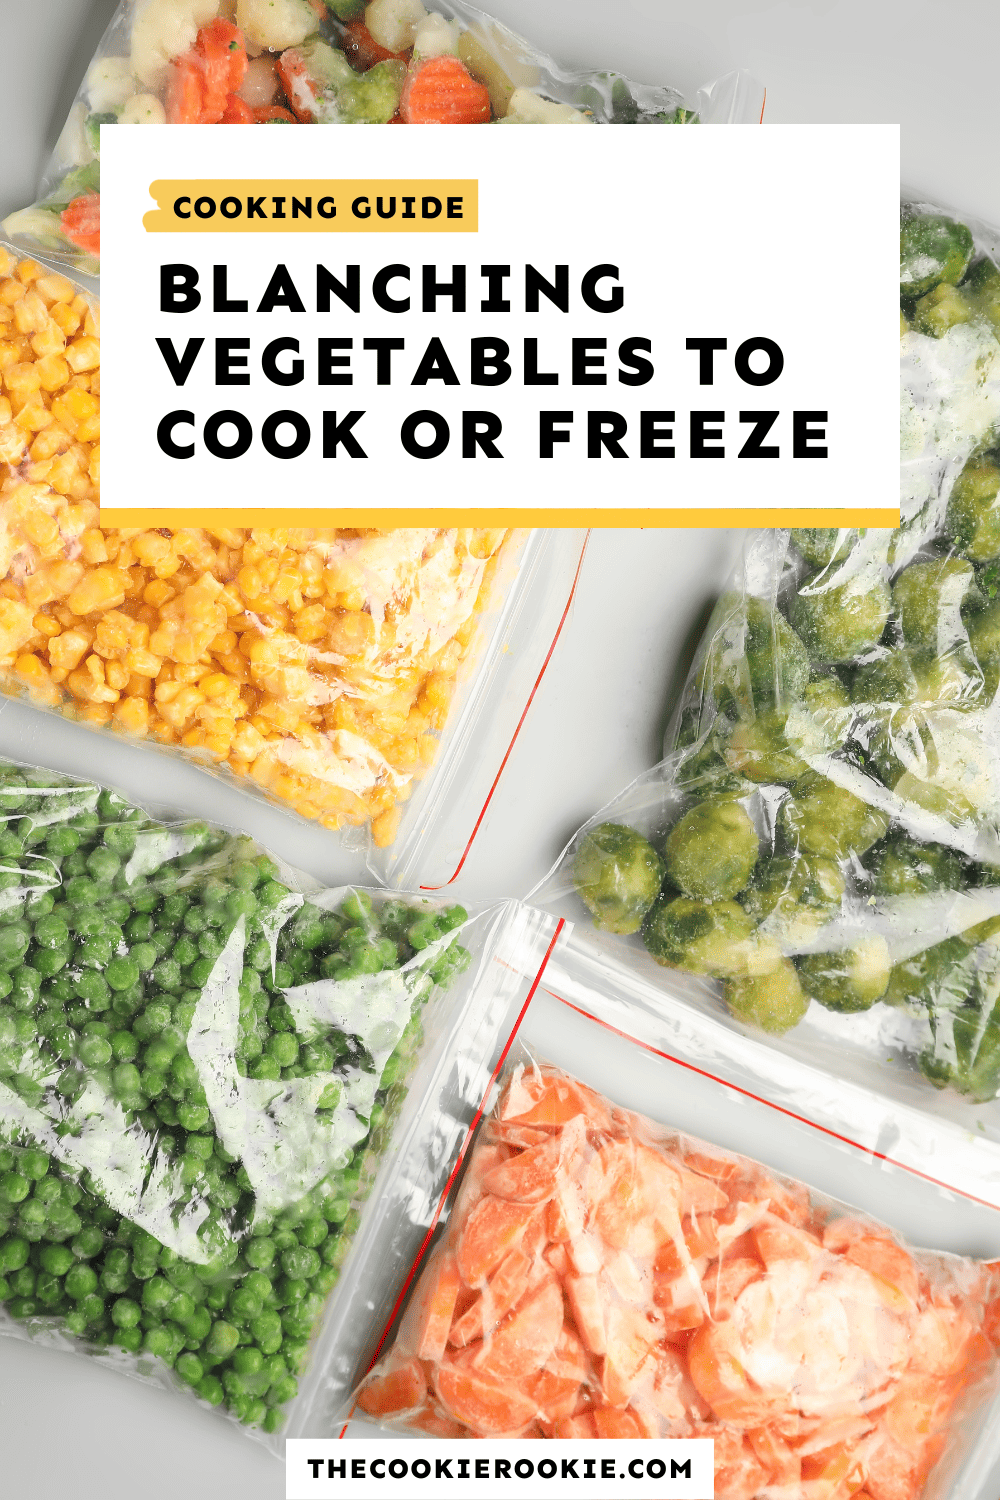
If you’re blanching vegetables to freeze them for long-term storage, here are the next steps.
- Let them cool down and dry out. Use paper towels or clean dish towels to help remove moisture.
- Cut them up. For most veggies, I’d recommend chopping them up into smaller pieces before freezing. Slices, cubes, or however you think you’ll want to cook/serve them in the future.
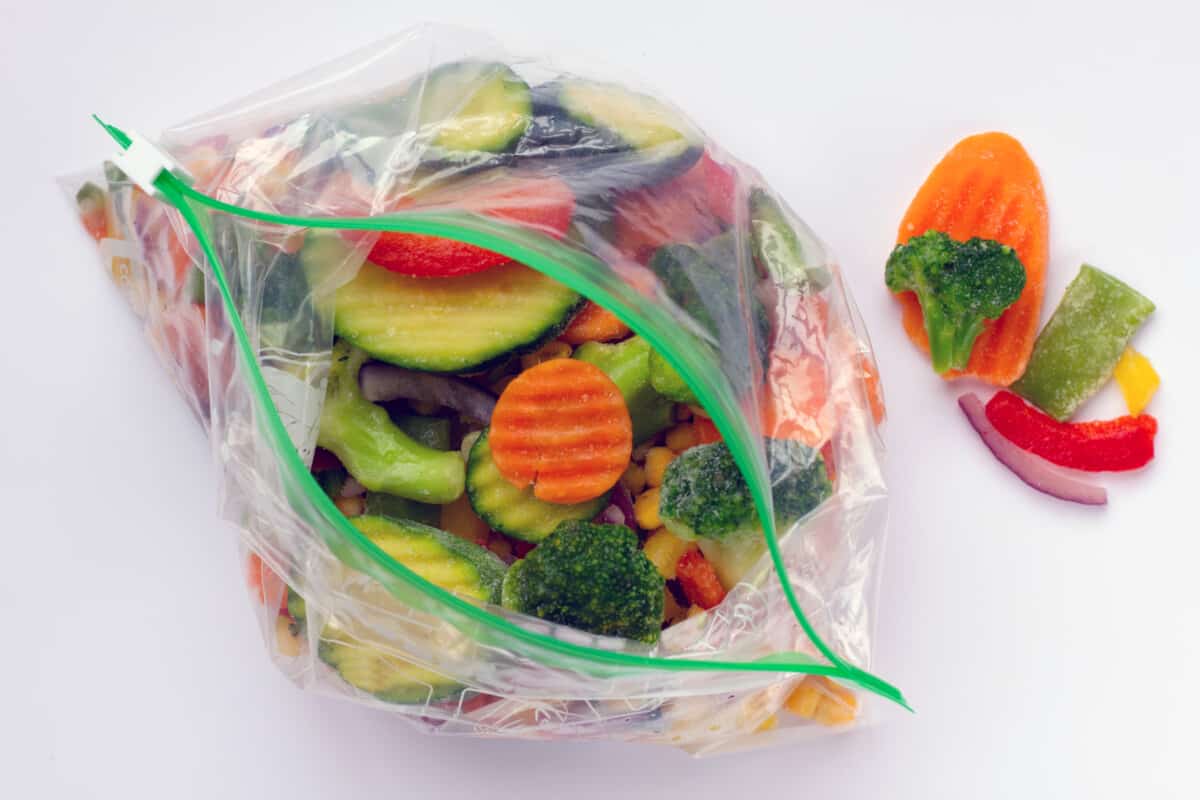
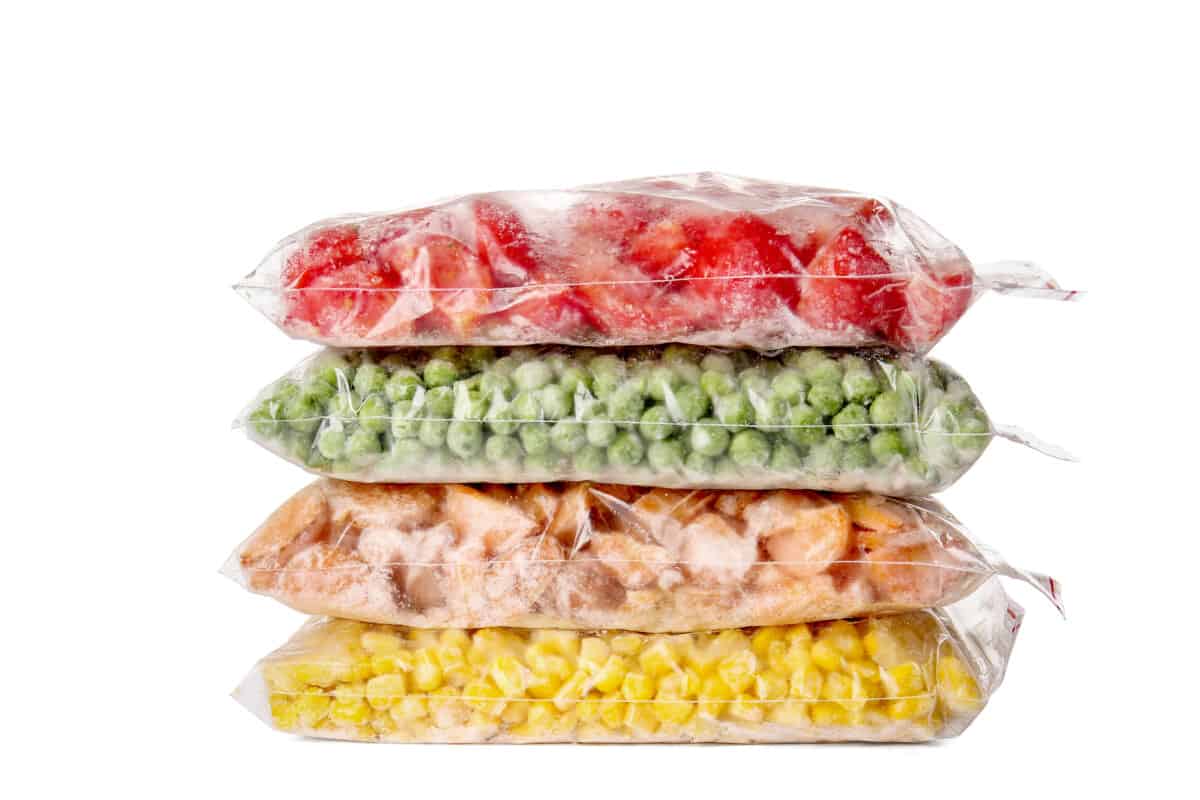
- Place them in containers. You can use any freezer-safe container with a well-fitted lid. You can also place them in resealable freezer bags and lay them flat to freeze.
- Then freeze until you’re ready to use them.
What happens if you freeze vegetables without blanching them?
If you skip the blanching step before freezing your fresh veggies, they’ll lose overall quality over time. The color will fade, the texture will degrade, the flavor will become bland, and they’ll lose most of their nutrients. They won’t “go bad” without blanching–they will still be safe to eat if you freeze them properly–but they won’t be quite as good when it comes time to cook and eat them.
Now that you know what blanching is, and how to blanch any vegetable, this step will be a breeze. You’ll be using this cooking skill all the time!
Vegetable Prep Tips
Find more tips and tricks for cooking, preparing, and storing vegetables.
