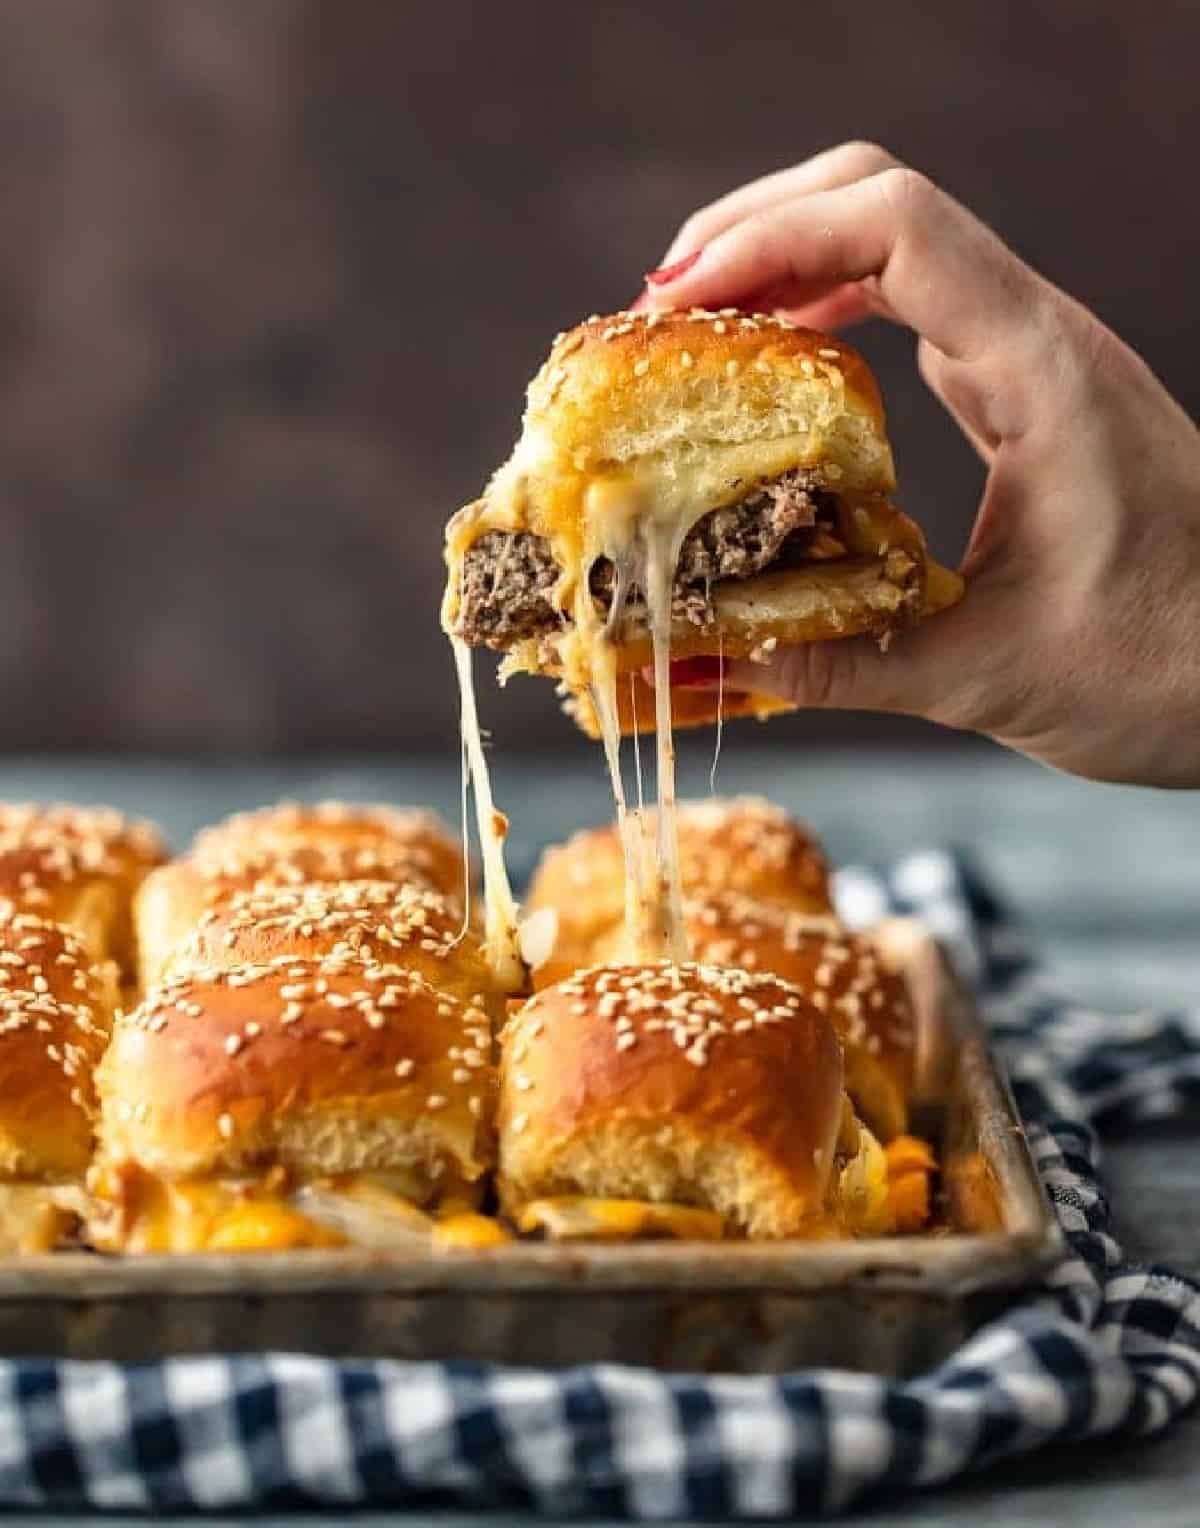
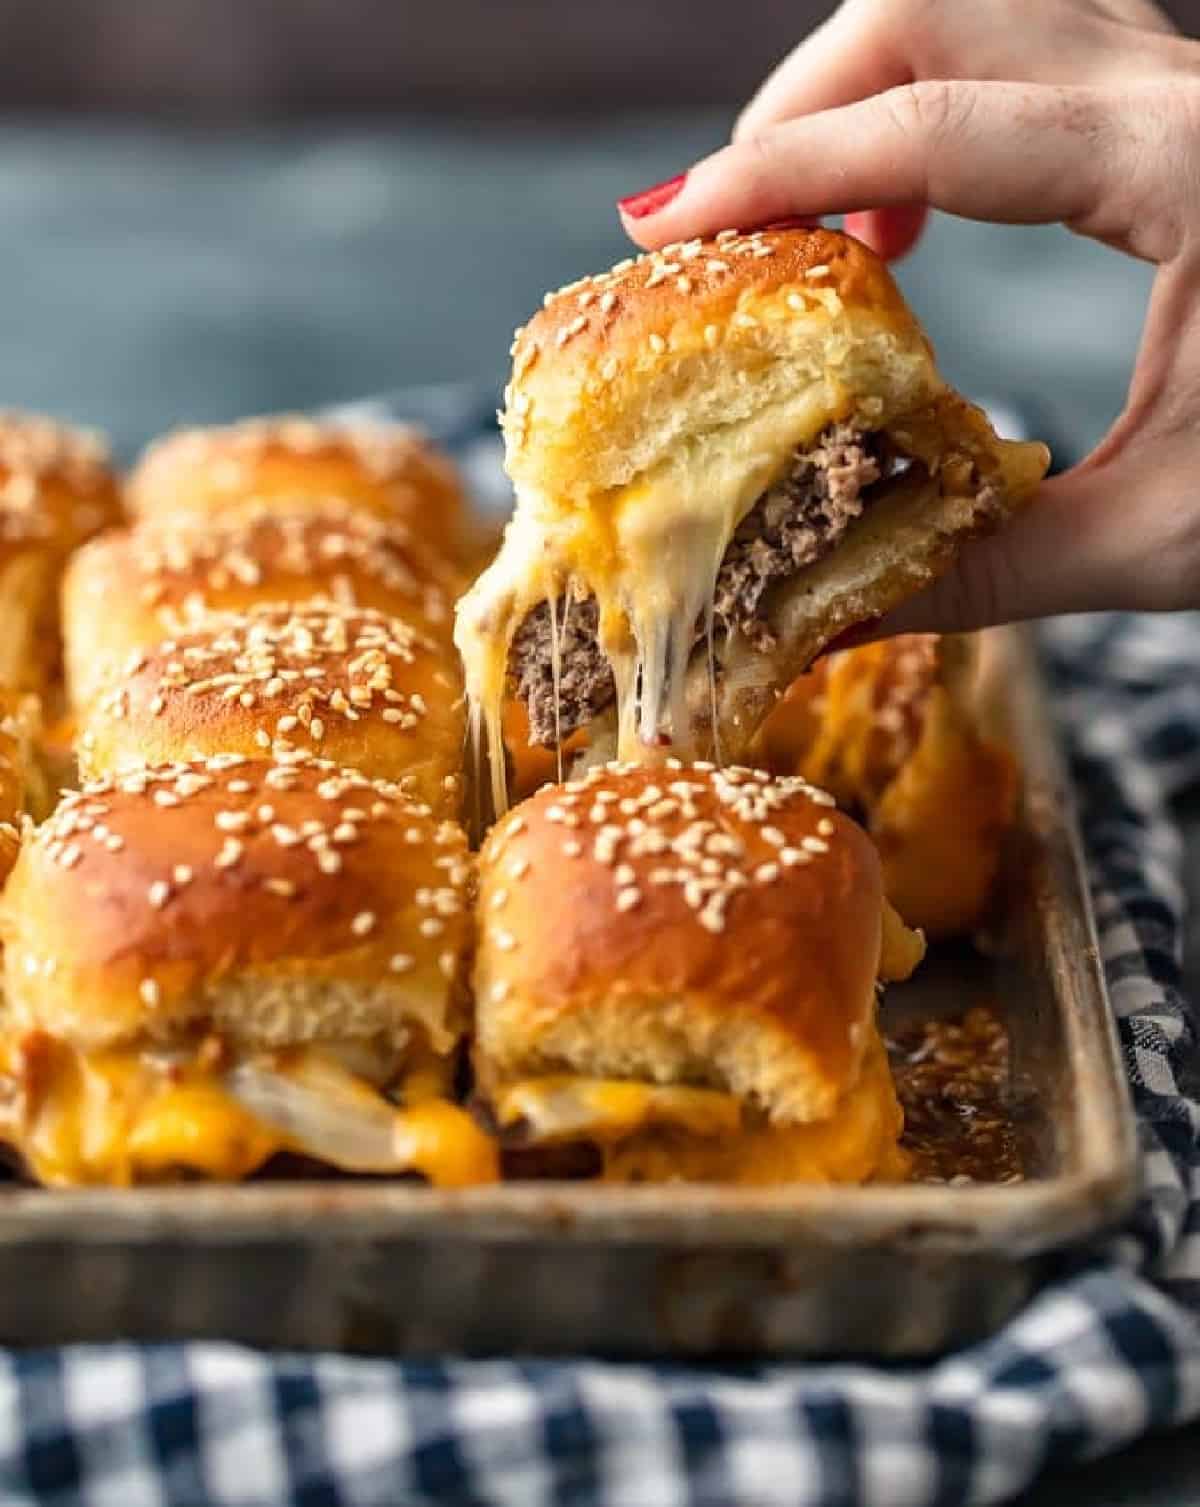
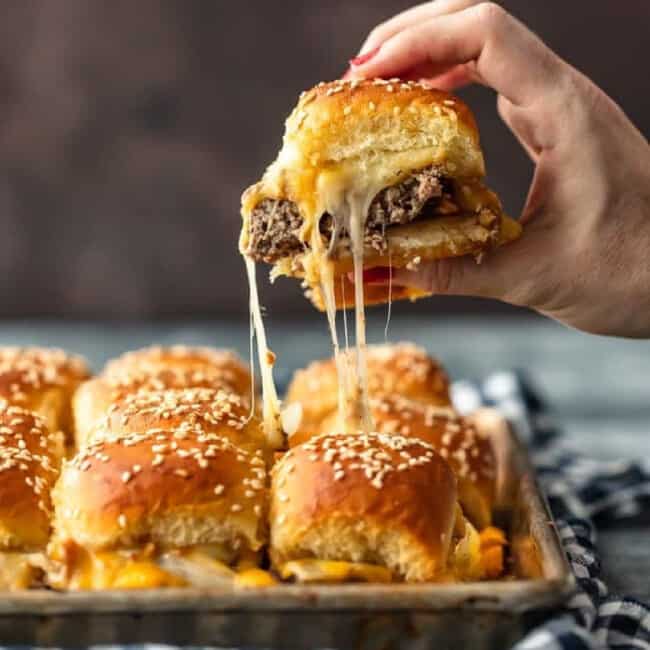
Cheeseburger Sliders are a fun and easy meal perfect for those busy school nights or fun game days! When I’m not sure what to make for dinner, my son Henry always requests these. There’s nothing better than these easy baked sliders for feeding a hungry crowd. It’s a recipe we make throughout the year and also one of our favorite game day recipes.
This post may include affiliate links that earn us a small commission from your purchases at no extra cost to you.
What’s in this Cheeseburger Sliders Recipe?
I simply cannot get enough baked sliders in my life. Being a parent is busy, especially around back to school, and these cheeseburger sliders are just one way I make life easier. I tested several ways to make the burger part of these sliders, and once I developed this technique, I knew I’d found a winner. Here’s what I included in the recipe:
- Ground Beef: These sliders are made using a huge ground beef burger patty! It’s easy to make and provides a tasty and juicy base for our cheeseburgers. We recommend using lean ground beef.
- Sautéed Onion: Although optional, the sautéed onions are my favorite part of these sliders. We usually add them to half the pan to make sure everyone at the party can enjoy a slider.
- Hawaiian Rolls: I love the subtle sweetness that using Hawaiian roll slider buns provides. You can use your favorite rolls if you prefer.
- Quality Cheese: We used cheddar, Swiss, pepper jack, and provolone. It was fun to make every cheeseburger a little different. Use your favorite quality cheese slices and don’t be afraid to get creative! We might try pub cheese for the Super Bowl!
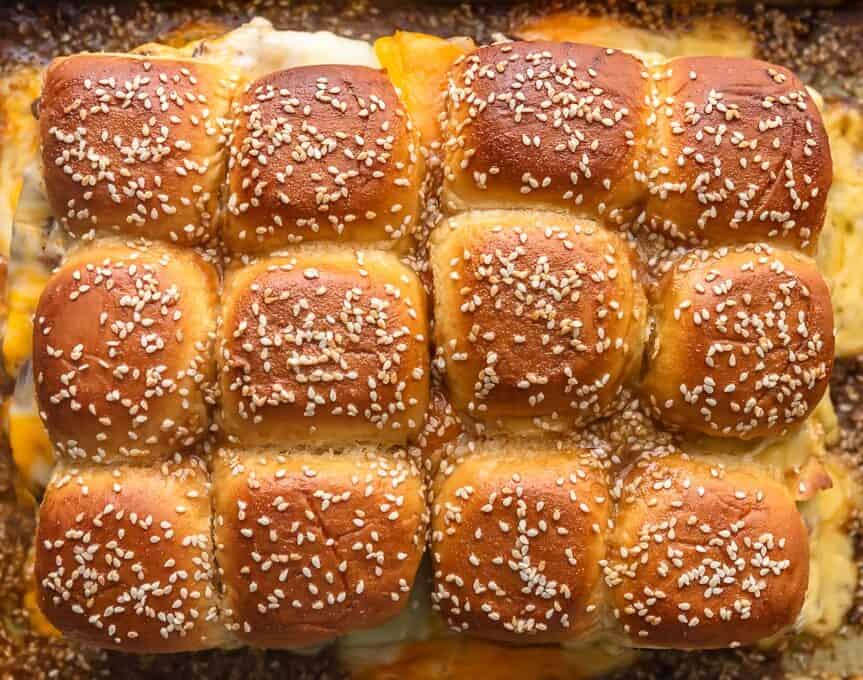
- Sesame Butter Spread: This really takes the flavor profile up a notch! It’s a simple addition that we hope you try.
Pro Tip: I always check the internal temperature of the meat in the center of the pan with an instant-read thermometer. Use my burger temperature chart to find the perfect temp for you!

Email This Recipe
Enter your email and we’ll send the recipe directly to you!
Variations on Hawaiian Roll Cheeseburger Sliders
I’ve chosen to make our baked sliders with bacon, onion, and cheese, but there are so many ways you can change things up and keep things fun. Here are some ways we have customized this recipe:
- Add some peanut butter! Have you ever heard of a goober burger? It’s a cheeseburger topped with peanut butter. Sounds weird but trust me; they’re delish. It’s a bit of a Missouri tradition (the Wagon Wheel Inn was somewhere we frequented in my childhood). I hope you give it a try because it’s truly fantastic.
- Add other toppings such as tomatoes, bacon, pickles, or more! Any ingredients that won’t wilt (aka lettuce) would be a great addition to these baked burgers! I like to have a toppings bar on hand when feeding a crowd.
- Get creative with the cheese selection. Cheeseburgers are meant to be made with all kinds of different cheeses. I want to try pub cheese on these next!
- Use Chicken or Turkey instead of Beef. Any ground meat will work in this fun and easy recipe. Win! Buffalo Chicken would be a fun variation!
How to Store and Reheat
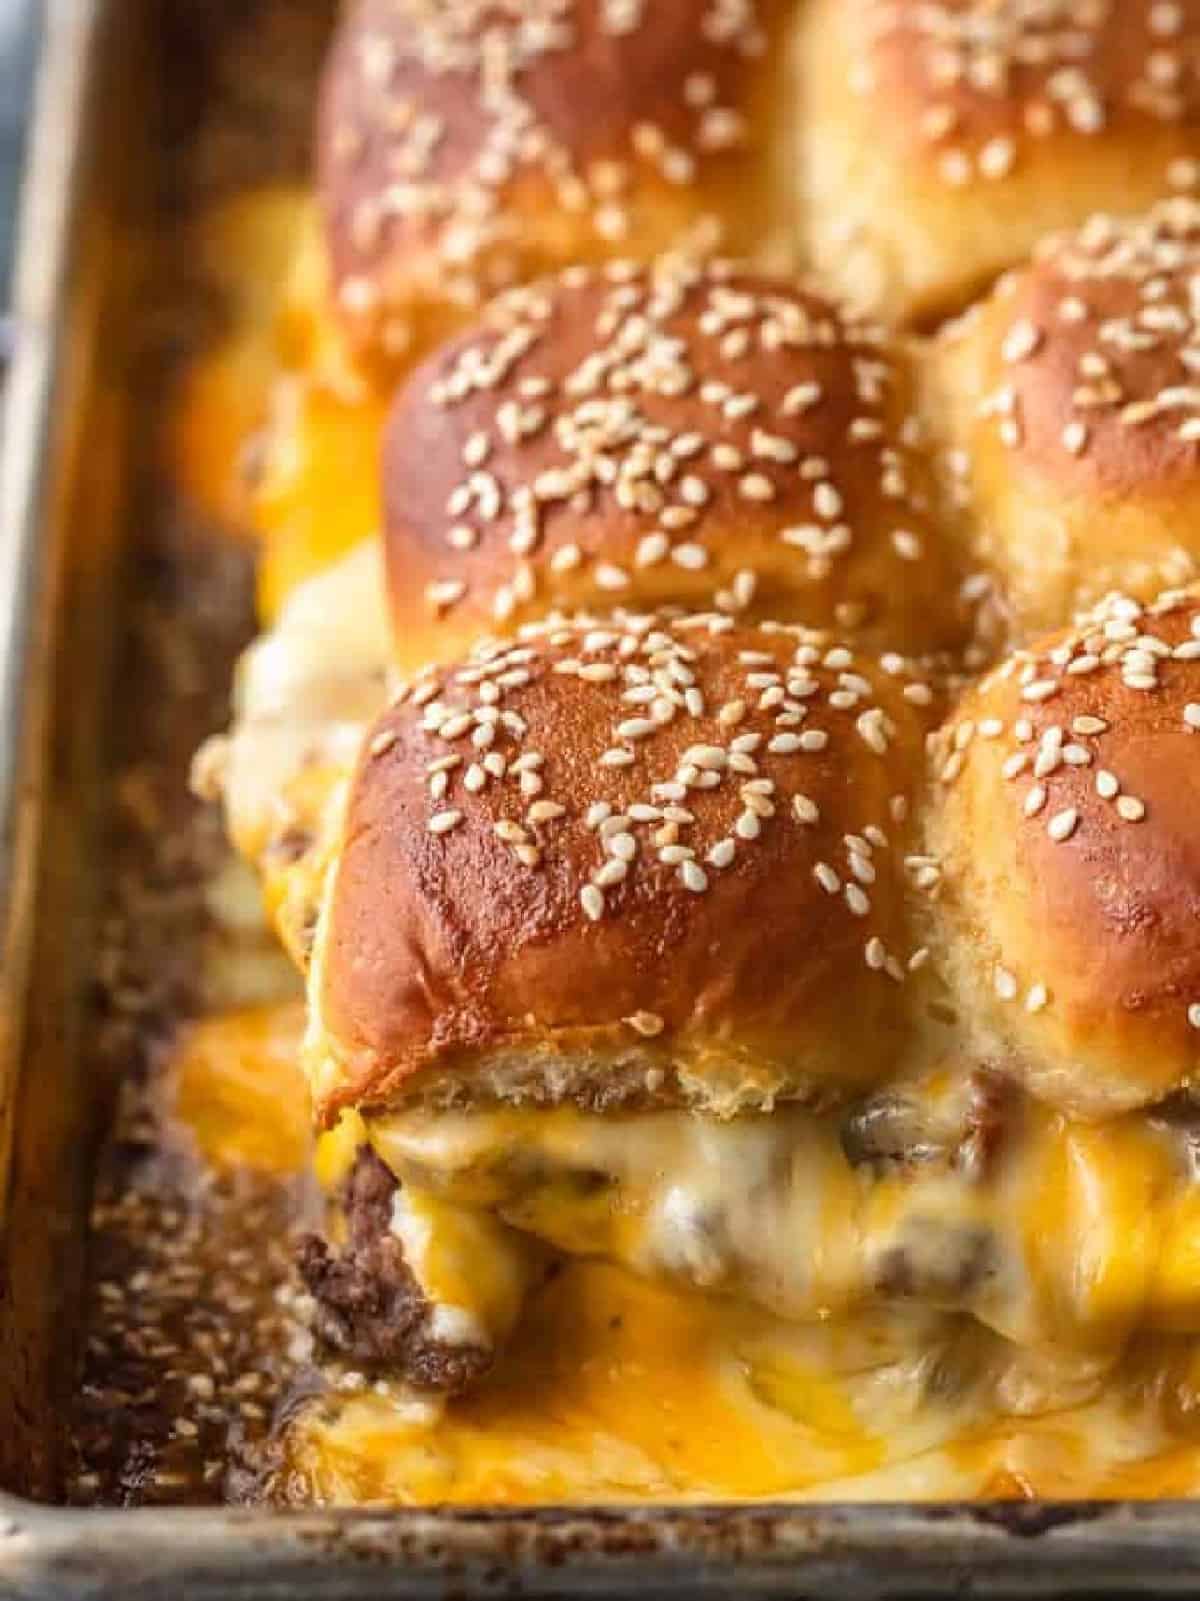
Store leftover cheeseburger sliders in an airtight container, or wrapped tightly in aluminum foil for up to 4 days. Reheat in a 350°F oven for 15-20 minutes, or until warmed through.
How to Freeze
Freeze these baked sliders individually wrapped in 2 layers of plastic wrap and 1 layer of aluminum foil for up to 3 months. Let thaw overnight in the refrigerator before reheating.
Serving Suggestions
The great thing about these cheeseburger sliders is that they’re so versatile. I serve them on their own as an appetizer, or serve them with everything from French fries to soft pretzels. Some of my favorite kid-friendly sides are avocado fries, baked sweet potato chips, tater tots, corn ribs, and loaded mac and cheese.
5-Star Review
“This is bar none one of the most delicious recipes I have ever made. My husband was over the moon! Thank you!!” – Lisa







These sliders are so simple to make and taste so good! The mixture that goes on the top of the buns make it that much better. Will definitely be adding these to our normal rotation
Yay! We’re so happy to hear that!
We’re sorry to hear that, Justin! All ovens are different, so I suggest getting an oven thermometer to double-check your oven is at the right temp!
Made this for my party of 3 fam. I only had fresh ground beef on hand so I cooked that with seasonings and sautéed onions and garlic. Then I did everything else nearly as you described (some temp changes as I was trying to bake fries at the same time). I even threw in some of the spare burger buns we had on hand and added the beef to it with the rolls. The glaze is so creative and tasty!! My varsity football son ate half the tray 😂This is so good! I love a recipe where I can let it roast and do its thing for a bit while I socialize or clean. Thank you for sharing this with us!!
We’re so happy to hear it was a hit, Gigi!
now, now, not nice
What about ones that I buy that are frozen and mostly already cooked and I am just heating them up not baking them? How long do I leave them in the oven then?
Final bake time should be the same; just skip the step where you bake the meat in the pan first!
When I prebaked the hamburger, I used an instant read thermometer to check for doneness. I did use the glaze recipe. The whole family enjoyed these sandwiches. Simple to make and a delicious new menu item for my family. When something is new at our house and we like it, it becomes “part of the rotation”.
We’re so happy to hear it has made the rotation, Sue!
Hi,
I’m about to make this cheeseburger sliders recipe but I think there is an error in your instructions. The directions says to use Borden Cheese Snack Bars, but your video looks like you’re using cheese slices instead.
Also, you say to cook the meat in a 9×13 pan, drain the meat and place the bottom half of rolls in the same baking dish. But your video shows the rolls in a different baking dish.
“”Slice the rolls in half lengthwise. Place the bottom half in the same baking dish.””
Just thought you’d like to know of this discrepancy in your recipe.
I am looking forward to trying this tonight! :-)
Hi, we sometimes add notes to recipes that contradict the videos when we’ve discovered an easier way to do something or a product we like better than what we originally used. Hope this makes sense!
I made these for my family. Followed the instructions to a T. I’m not sure what happened but when I cut into them they were completely RAW! Basically in the over for 40 minutes and it was still raw. Highly disappointed 😔
Oh, no! Did you by any chance bake the beef in a pan that was smaller than 9×13? A smaller pan would make thicker beef that would take longer to cook.
We’d love to help you troubleshoot! We recommend getting an oven thermometer to ensure your oven is reaching the correct temperature! Using a pan that is smaller than 9×13 can also affect the results.
Made these for Sunday night football and loved them, thank you! I just spread melted butter on top and added sesame seeds because I was lazy, but they were still great.
So glad you enjoyed them, Katie!
It would mean more if you could spell taste correctly…