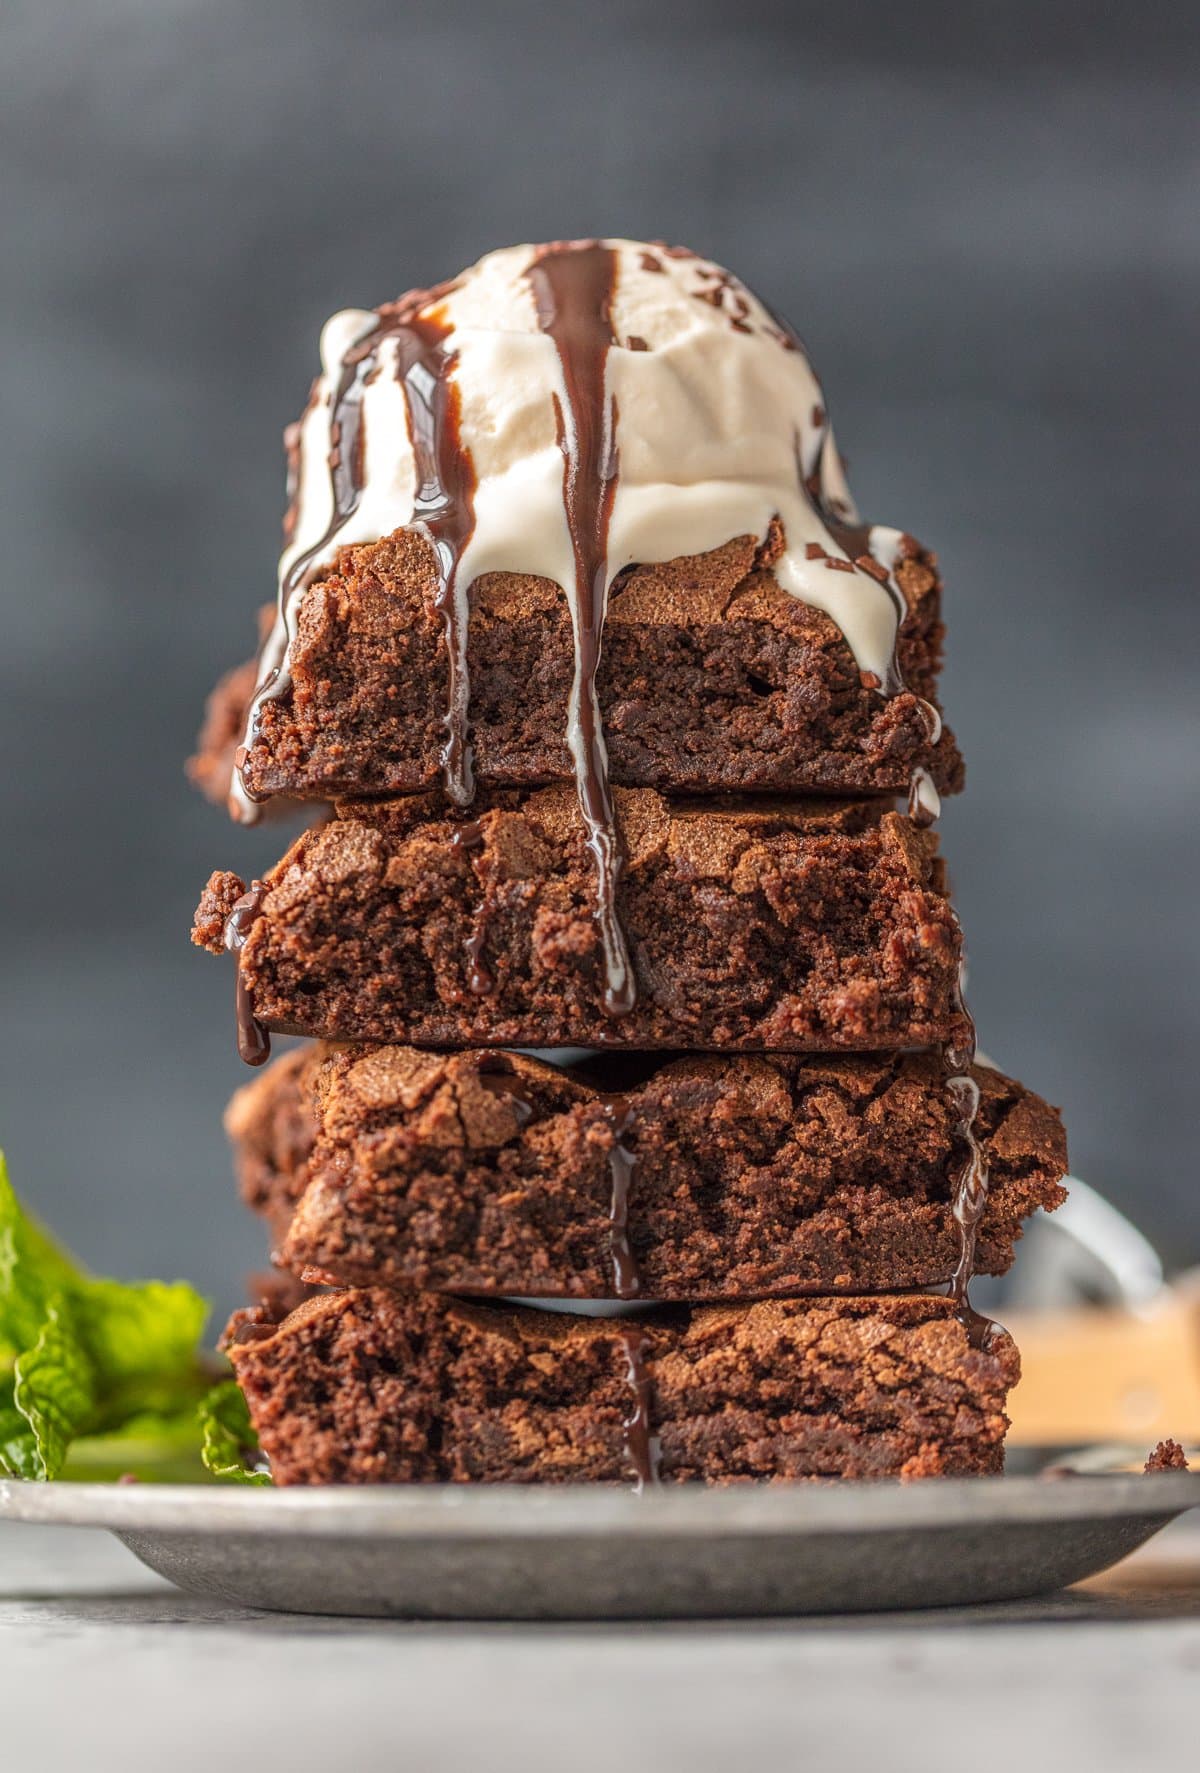
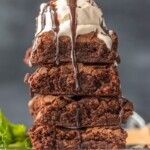
When I was just starting out learning to bake, making brownies from scratch seemed insurmountable. I’ve always loved boxed mix, so why mess with perfection? That was until I made this mind-changing homemade brownie recipe. These homemade brownies are super dense, moist, rich, and perfect! They’re sure to satisfy any sweet tooth. This is a recipe I will be passing down through the generations, and I hope you will too!
This post may include affiliate links that earn us a small commission from your purchases at no extra cost to you.
What’s in This Homemade Brownie Recipe?
Making brownies from scratch couldn’t be easier. I believe that everyone needs a killer brownie recipe for any and every occasion, and this one makes the most amazing fudgy brownies you will ever taste.
- Cake Flour: This lower-protein flour inhibits gluten production, leading to a fluffier texture. You can use regular all-purpose flour, but the brownies will turn out much denser.
- Salt: Kosher salt enhances the chocolate flavor of these brownies and balances their sweetness. A Bit of coarse salt adds crunch and a special touch.
- Baking Powder: Helps the brownies rise just a touch in the oven so they aren’t overly fudgy.
- Butter: Unsalted butter produces tender brownies with a rich flavor.
- Unsweetened Chocolate: Using melted chocolate instead of cocoa powder makes these brownies super rich and gooey.
- Sugar: Granulated sugar sweetens the brownies.
- Eggs: Give the brownies structure and add additional moisture.
- Vanilla Extract: Enhances the sweetness of the brownies.
- Nuts: I highly recommend using toasted pecans or walnuts to add a crunchy texture to these chewy homemade brownies.
What Makes Brownies From Scratch Cakey vs Fudgy?
This homemade brownie recipe is dense and chewy, just the way I like it! But you can pretty easily change the texture of these brownies by adjusting the amount of eggs in the recipe. Basically:
- To make brownies more chewy, use less eggs.
- To make brownies more cakey, use more eggs.
I think the combo we have in this easy recipe is perfection, but you can play around with it and make it your own! One more egg will make things much fluffier, while the recipe as is will give you a denser, chewier brownie.

Email This Recipe
Enter your email and we’ll send the recipe directly to you!
How to Store
I have found that this homemade brownie recipe keeps well for about 3-5 days when stored properly in an airtight container at room temperature.
I like to slip a slice of bread into the top of the container before closing. The moisture from the bread should give your brownies a few extra days of soft, chewy perfection. If you notice the bread getting stale, simply replace it. Done and done!
How to Freeze
These brownies from scratch also freeze well. Tightly wrap them in 2 layers of plastic wrap and 1 layer of aluminum foil for up to 3 months. Let thaw overnight in the refrigerator before enjoying.
Serving Suggestions
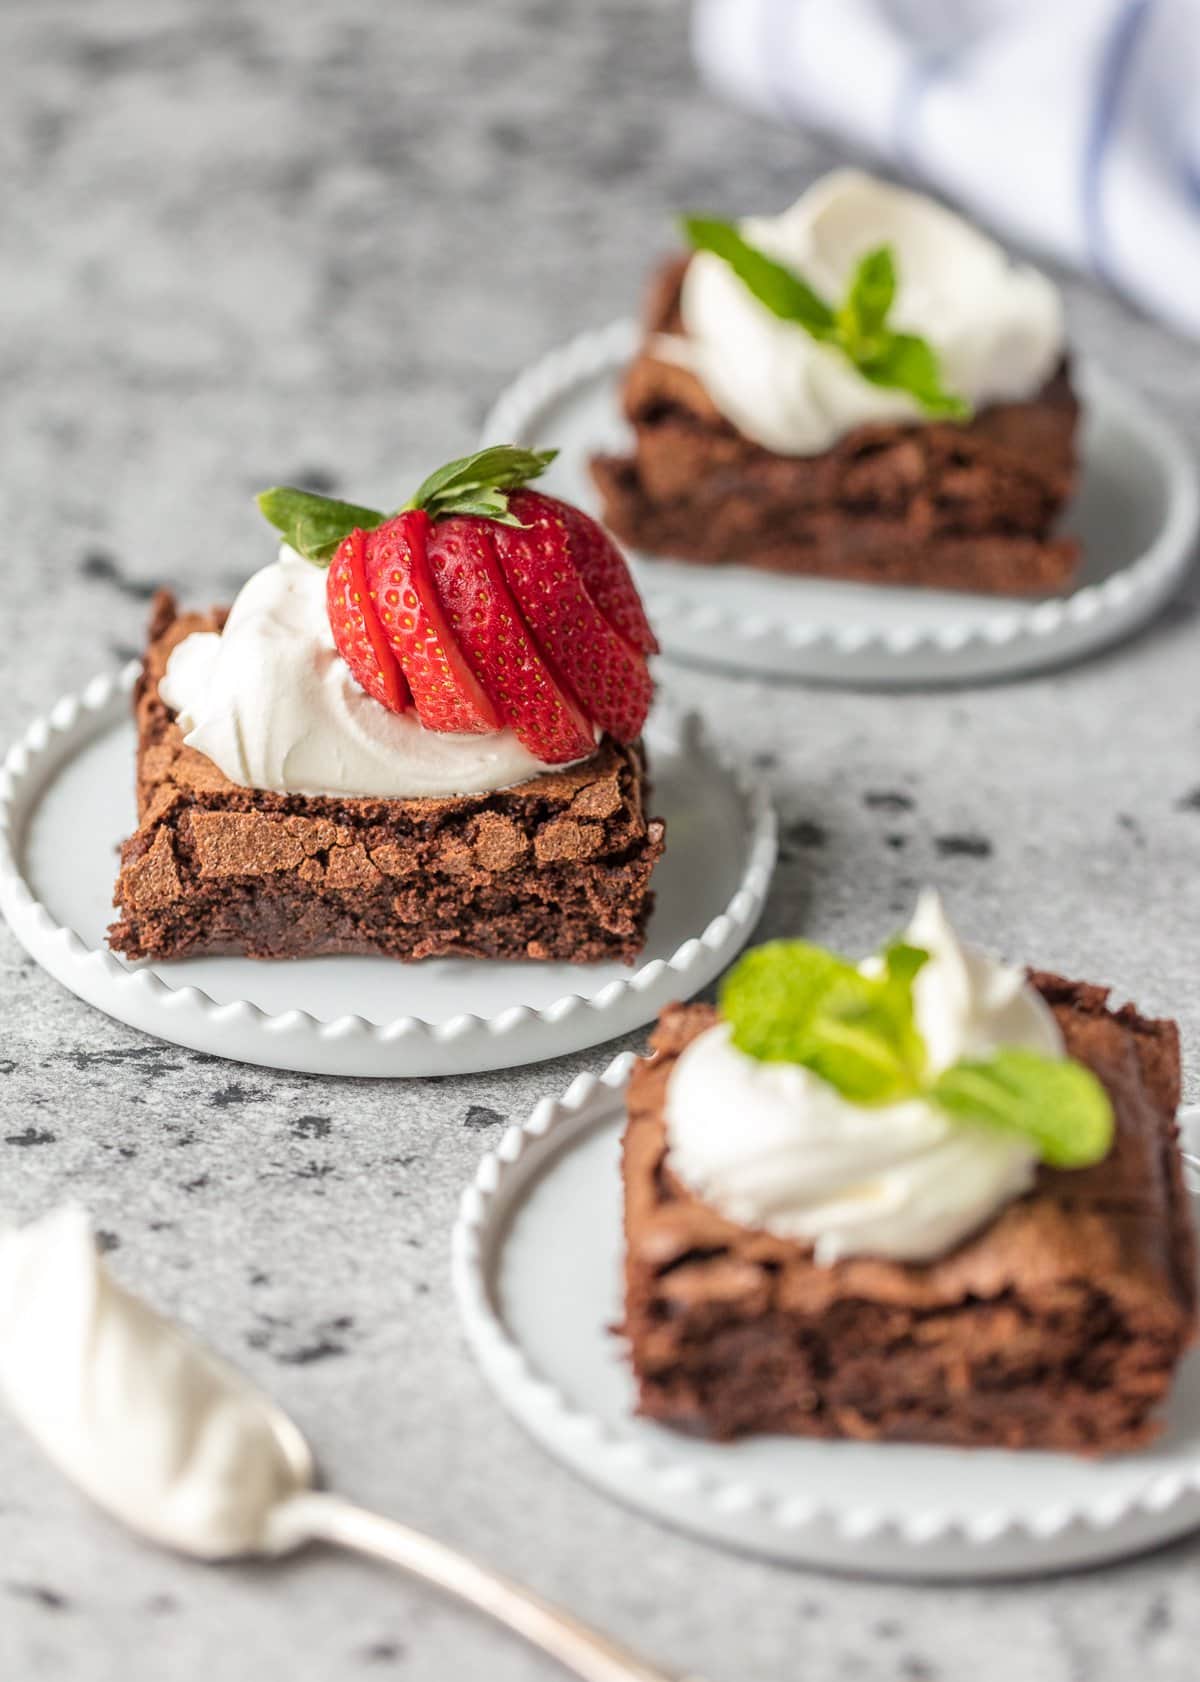
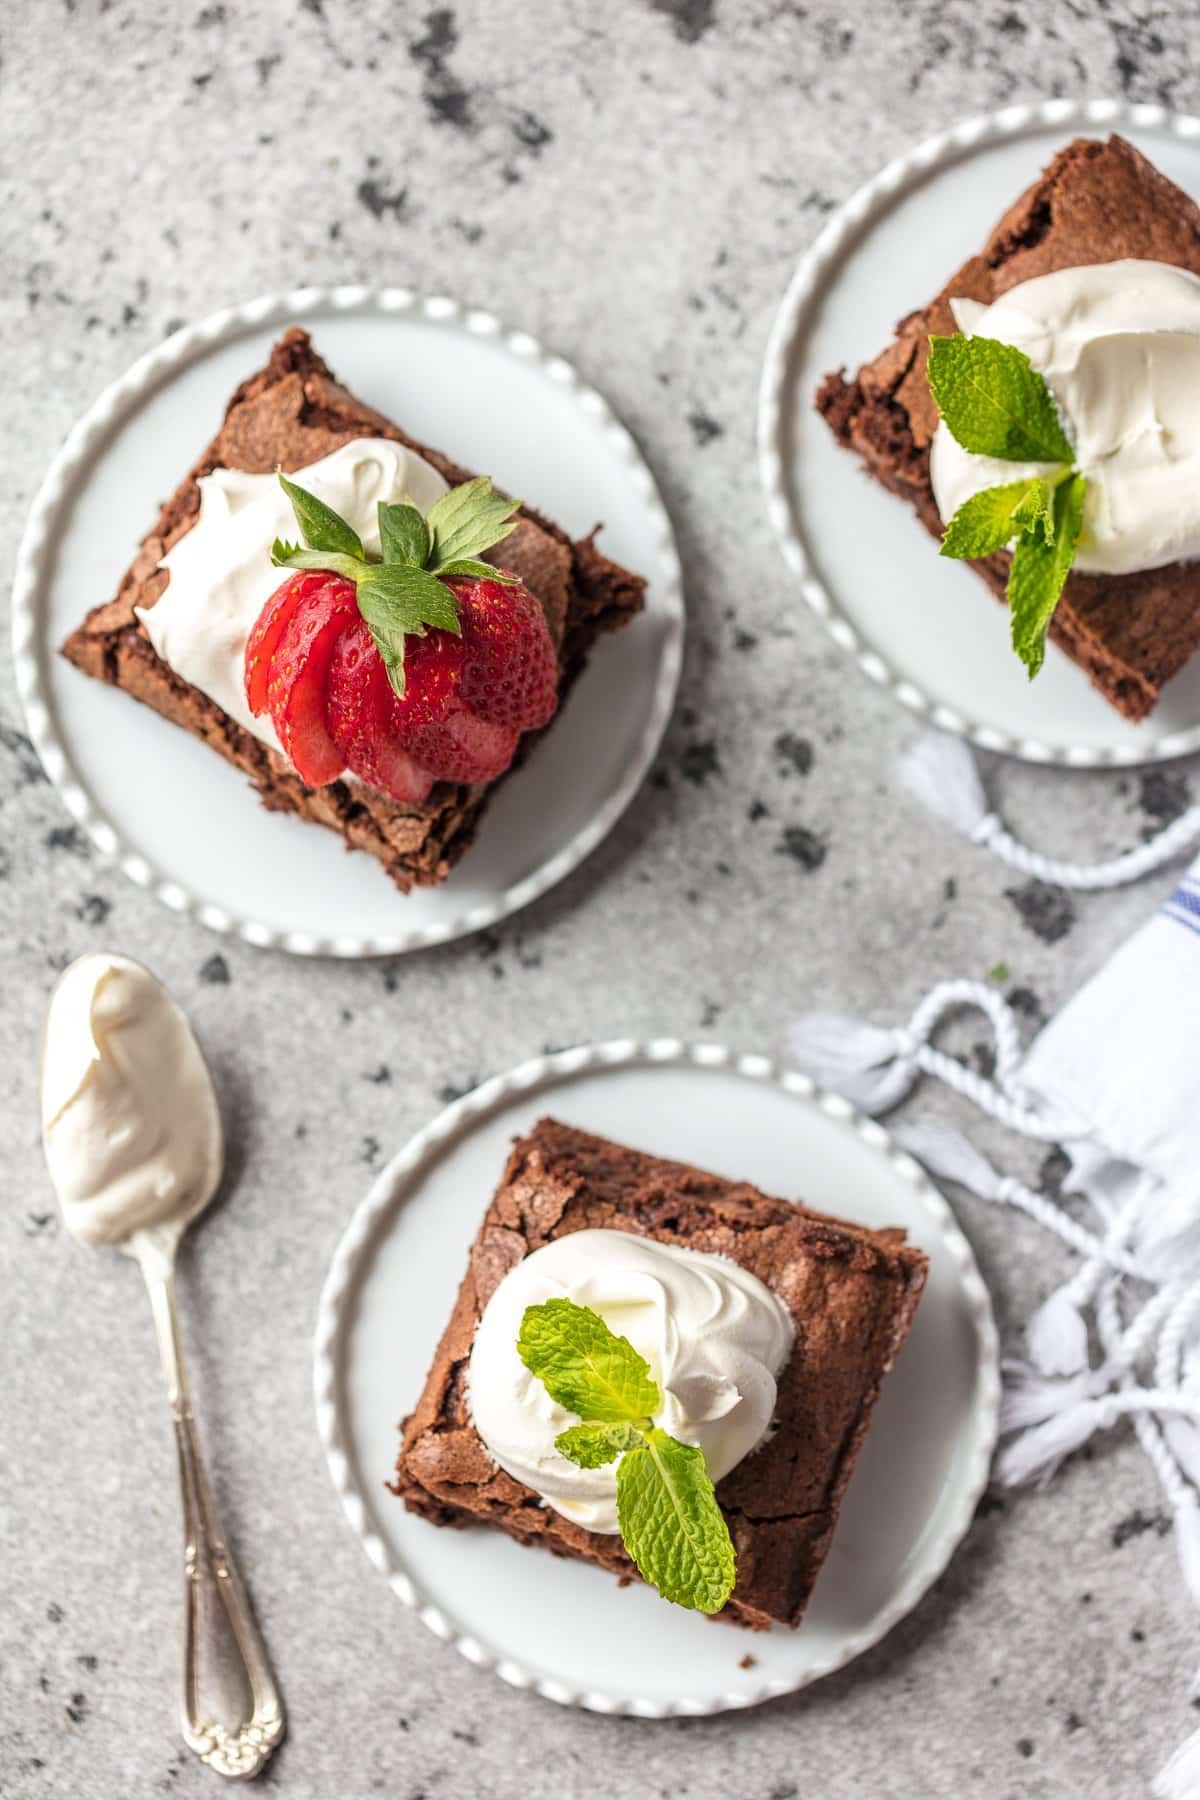
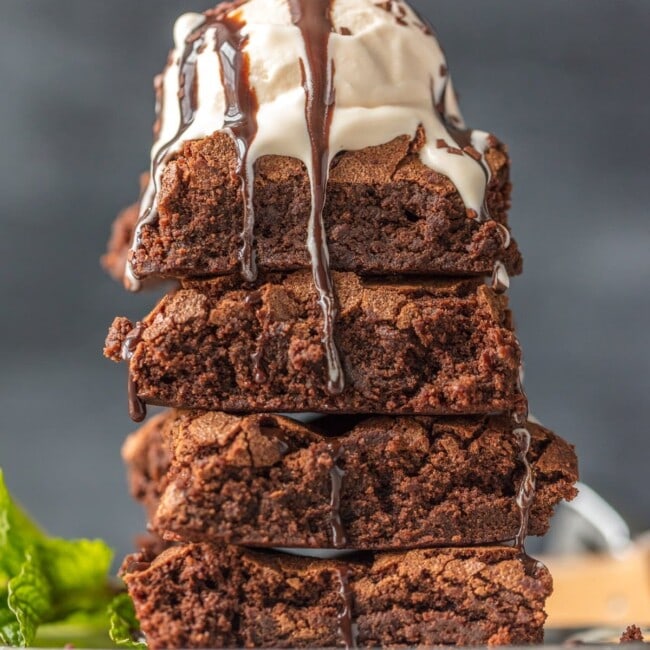
Let’s be honest, there’s no wrong way to serve these delicious brownies from scratch! They’re just so good. The simplest topping is a bit of whipped cream and some fresh berries. I personally love a brownie sundae topped with vanilla ice cream and warm chocolate sauce. Melty ice cream mixed with chewy brownies is like heaven!
Since you’re eating the best brownies ever, go all out. I think the best way to end any long day is with a glass of red wine (or milk) and a few of these.
Notes from the Test Kitchen
- This recipe is made for a 13×9-inch baking pan. If you use a different size pan, make sure the batter will fit, and be aware that the cooking times may need to be adjusted.
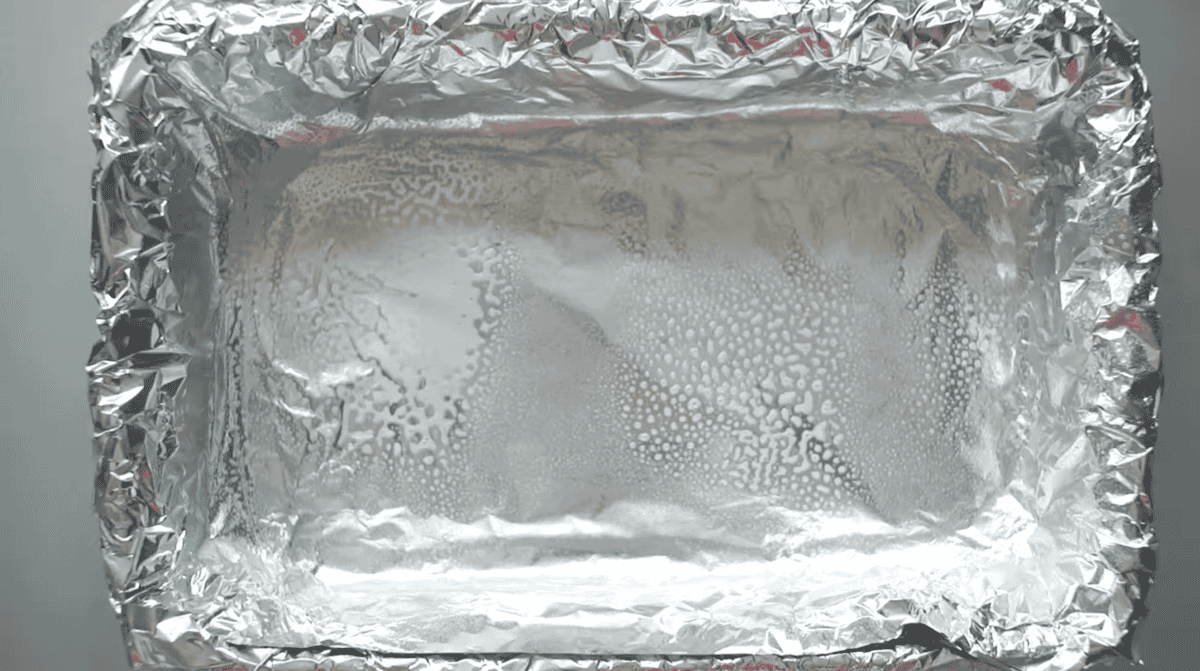
- Use the two sheets of aluminum foil in the bottom of the pan (as detailed in the recipe card) to make it super easy to lift brownies out of the pan after baking.
- A toothpick should come out clean when they are fully cooked.
5-Star Review
“My Husband is very excited about this recipe after I made them today. He wants me to keep this recipe.” – Callie Dickson
How to Make Brownies From Scratch Step by Step
Prep the Pan: Adjust the oven rack to the middle position, then preheat the oven to 325°F. Cover a 13×9-inch baking pan with 2 folded sheets of aluminum foil – the first sheet will go across one way and the second sheet should go the length of the over way and be perpendicular to the first sheet. Cut the foil long enough to hang over all edges by 3 inches. The foil will be used to lift the cooked brownies from the pan. Spray the foil-lined pan with nonstick cooking spray.
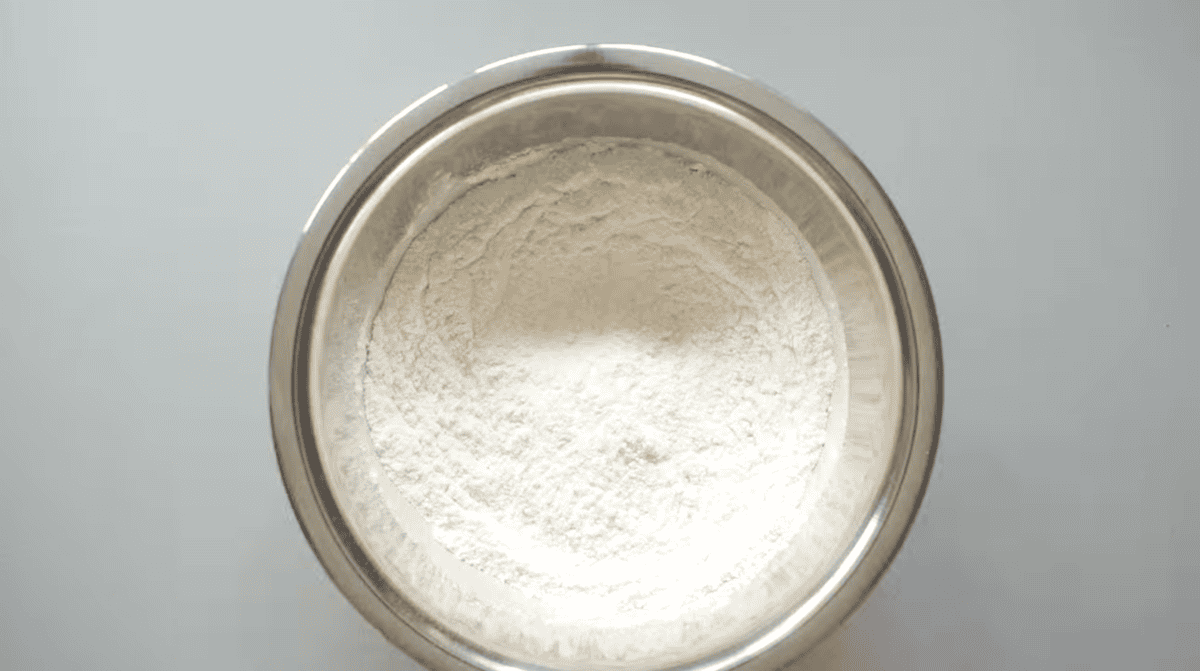
Combine the Dry Ingredients: In a medium bowl, combine 1¼ cups of cake flour, ½ teaspoon of kosher salt, ⅛ teaspoon of coarse salt, and ¾ teaspoon of baking powder. Whisk well.
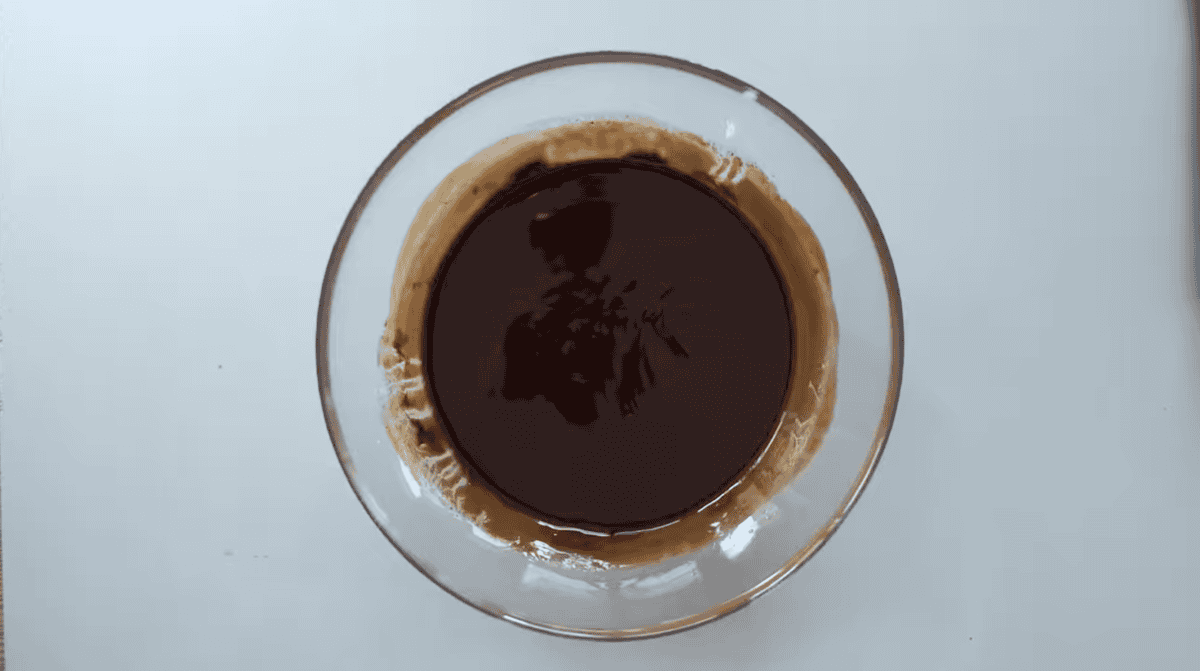
Melt the Butter and Chocolate: Melt 12 tablespoons of unsalted butter in a large heatproof bowl. Add 6 ounces of chopped unsweetened chocolate and stir until completely smooth and incorporated. If necessary, gently heat the chocolate/butter mixture, on high, in 10-second increments, until the chocolate is melted. Stir often.
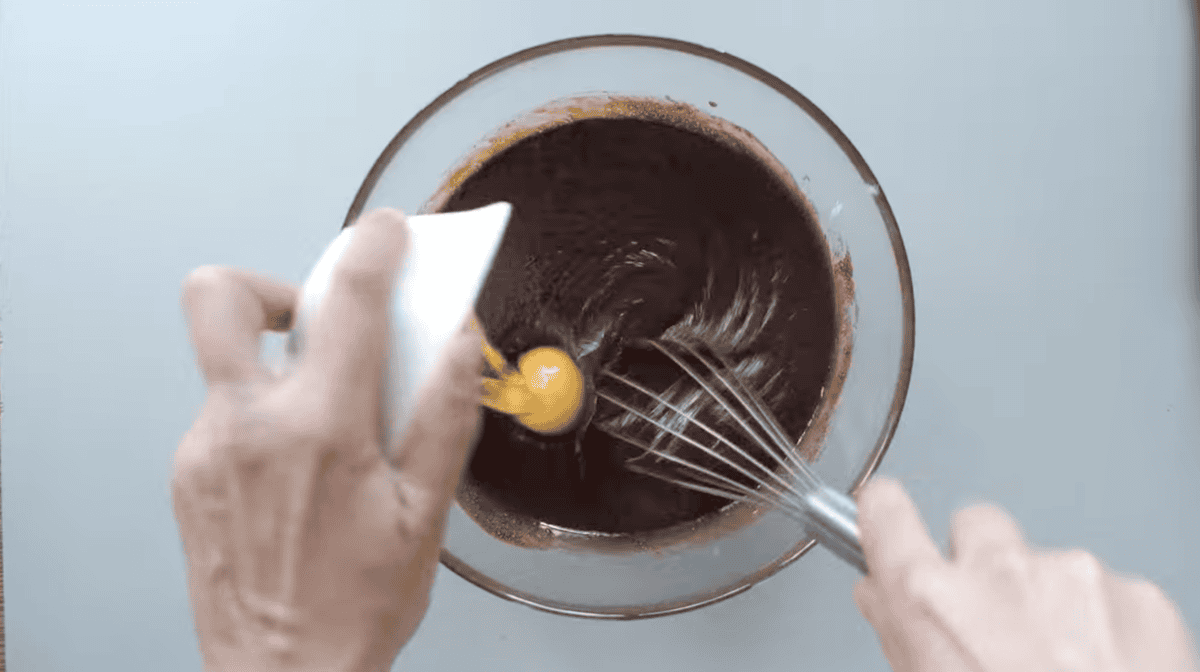
Whisk in the Sugar and Eggs: When the chocolate mixture is smooth, gradually whisk in 2¼ cups of granulated sugar. Add 4 large eggs one at a time until thoroughly combined. Add 1 tablespoon of vanilla and whisk again.
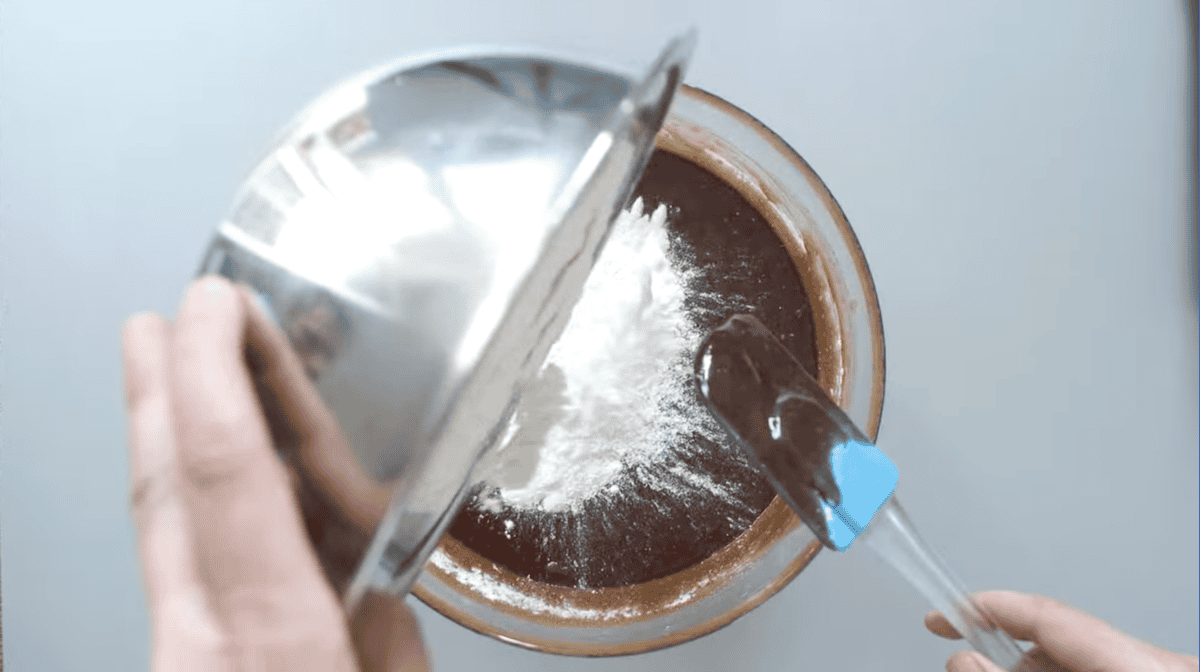
Fold the Batter: Add the flour mixture in 3 additions. Fold gently with a rubber spatula after each addition until the batter is smooth and fully incorporated.
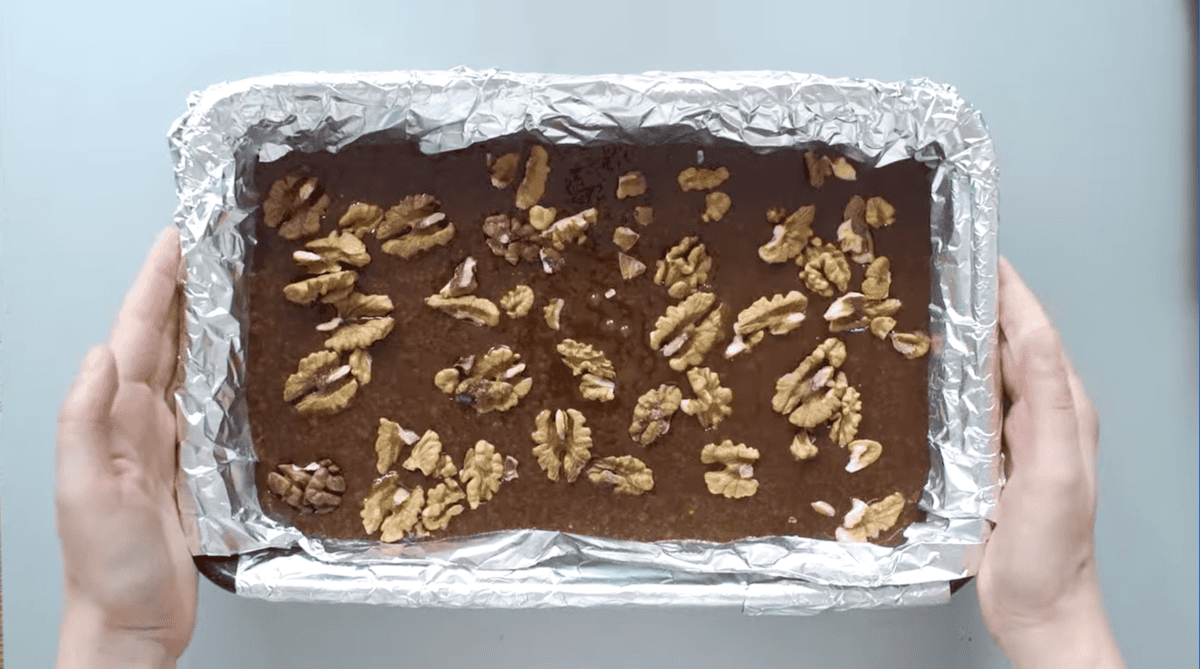
Bake the Brownies: Transfer the batter to the prepared pan, spreading it into the corners and smoothing the surface. If using nuts, sprinkle 1 cup of them evenly over the batter. Bake for 30-35 minutes, or until a toothpick inserted into the center comes out with a few moist crumbs attached.
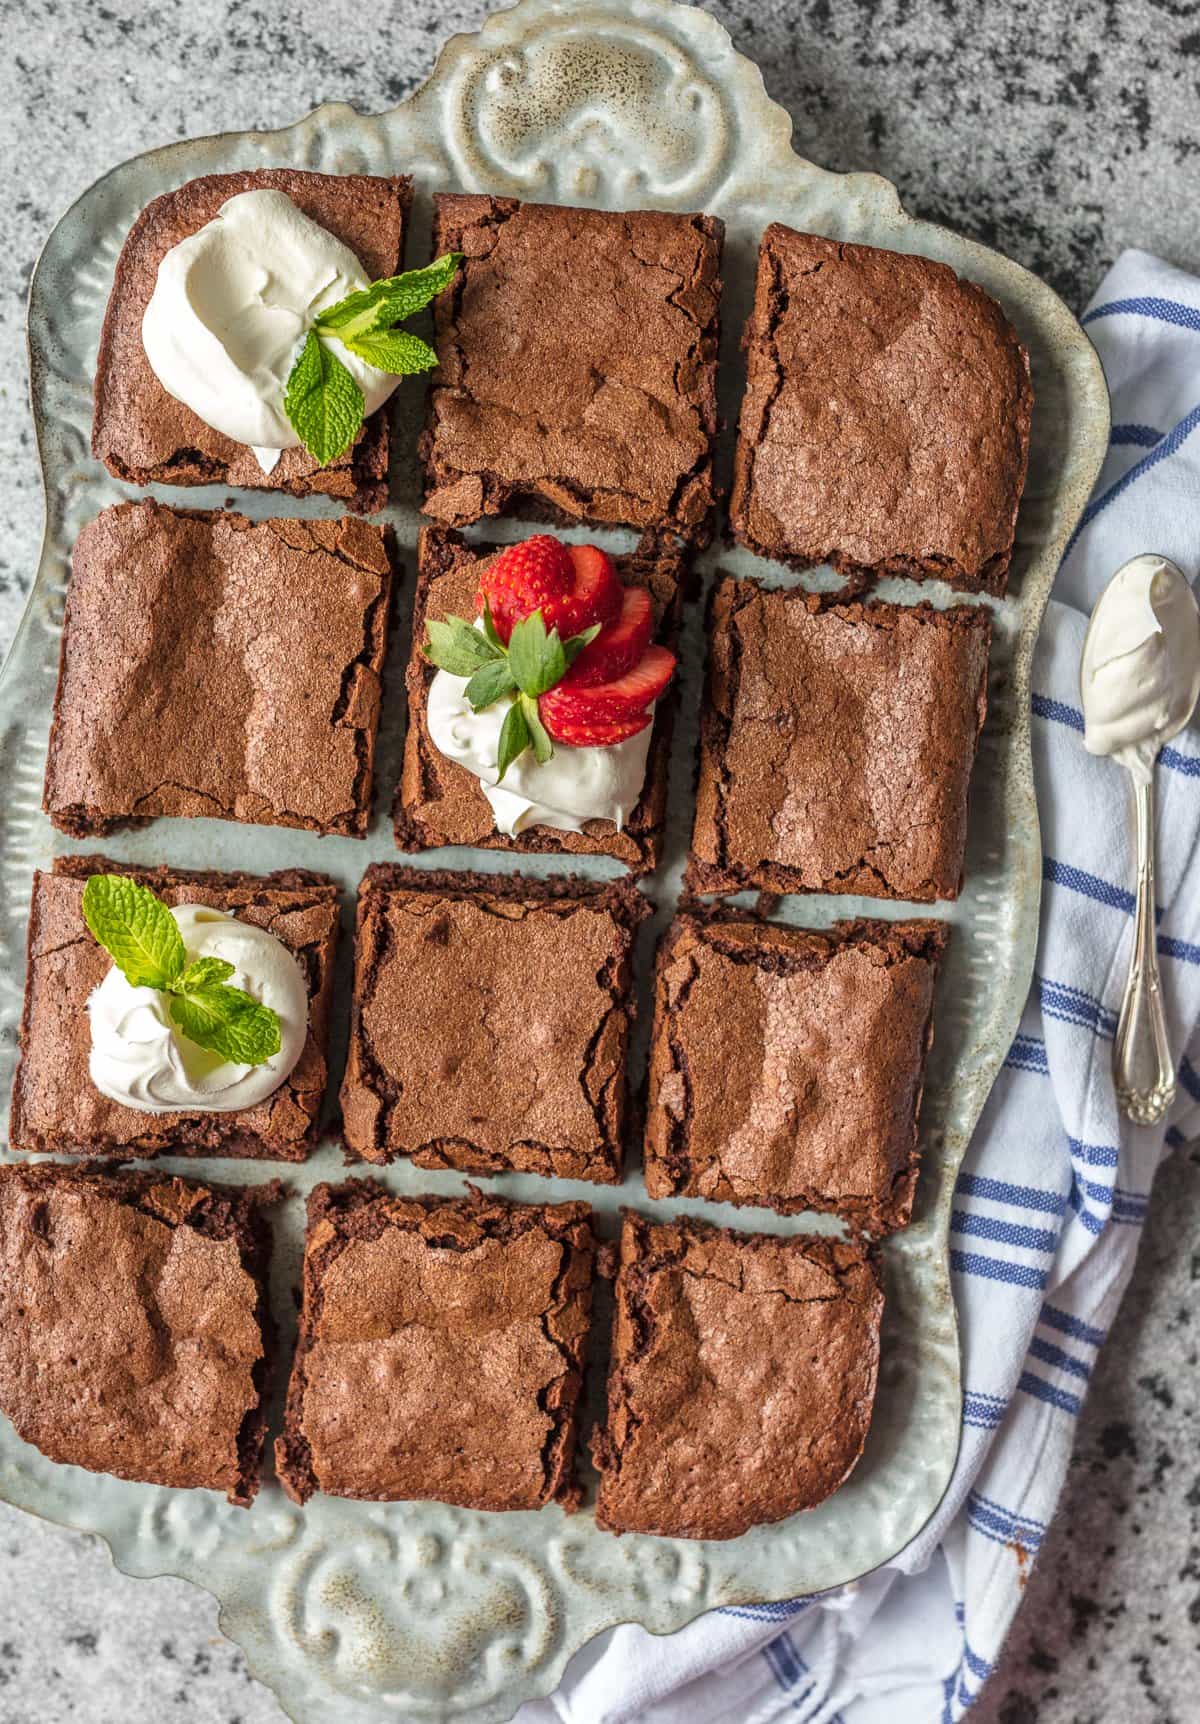
Cut and Serve the Brownies: Transfer the brownies to a cooling rack and cool to room temperature. Remove cooled brownies from the pan by lifting the foil overhang. Cut into 2-inch squares.
Surprisingly, it has become cheaper to use a boxed mix than to make brownies from scratch. However, I truly believe you can’t beat the taste of homemade brownies. Give this recipe a try and see for yourself!
Butter is considered a solid fat (since it solidifies at a low temperature), so it is considered the better choice for brownies because it can help aerate the batter and create that signature crackly crust. It also adds a rich and buttery flavor that oil just can’t replicate.
Yes! If you prefer a lower-cholesterol version, you can swap out the eggs for applesauce or bananas. Simply use 1/3 cup applesauce as a swap for 1 egg.
Relatively speaking, brownie batter should be thick like a cake batter. However, because I used melted butter in this recipe, it tends to be just a bit runnier than your typical brownie batter, but it bakes up just fine.
If you accidentally leave a brownie out and it becomes too hard… do not fret! We don’t want a single brownie crumb to go to waste. Here’s my favorite trick: Wrap the brownie in a moist paper towel and microwave for 30 seconds. It works like a charm!


I was more than happy this great site. I have you bookmarked to see new information on your blog.
Your article makes me feel hungry while reading.
My son loves this so mutch, that very great to have your day with this brownie scratch in Food prep Containers or food jar. When you feel hungry can take it from the container or jar and enjoy your time.
Thanks for this great article. brownie are looking super delicious.
This look so delicious, this great recipe for hot summer days.
My older kid likes chocolate much I will follow your guide to make for him.
Thanks,
This bakery taste of it is very special very tasty. I often do it on weekends for my husband and children.
This is a fabulous brownie recipe. My husband isn’t a big brownie kinda guy, and he even loved them! “There’s a lot of taste packed in these.” Very moist!
YAY! I love hearing these kinds of things!
This is my favorite cake
The recipe is great, hope I will make your dishes, it is very attractive, Sincerely thanks.
This is by far the best brownie recipe I have ever made. Thank you so much for sharing.