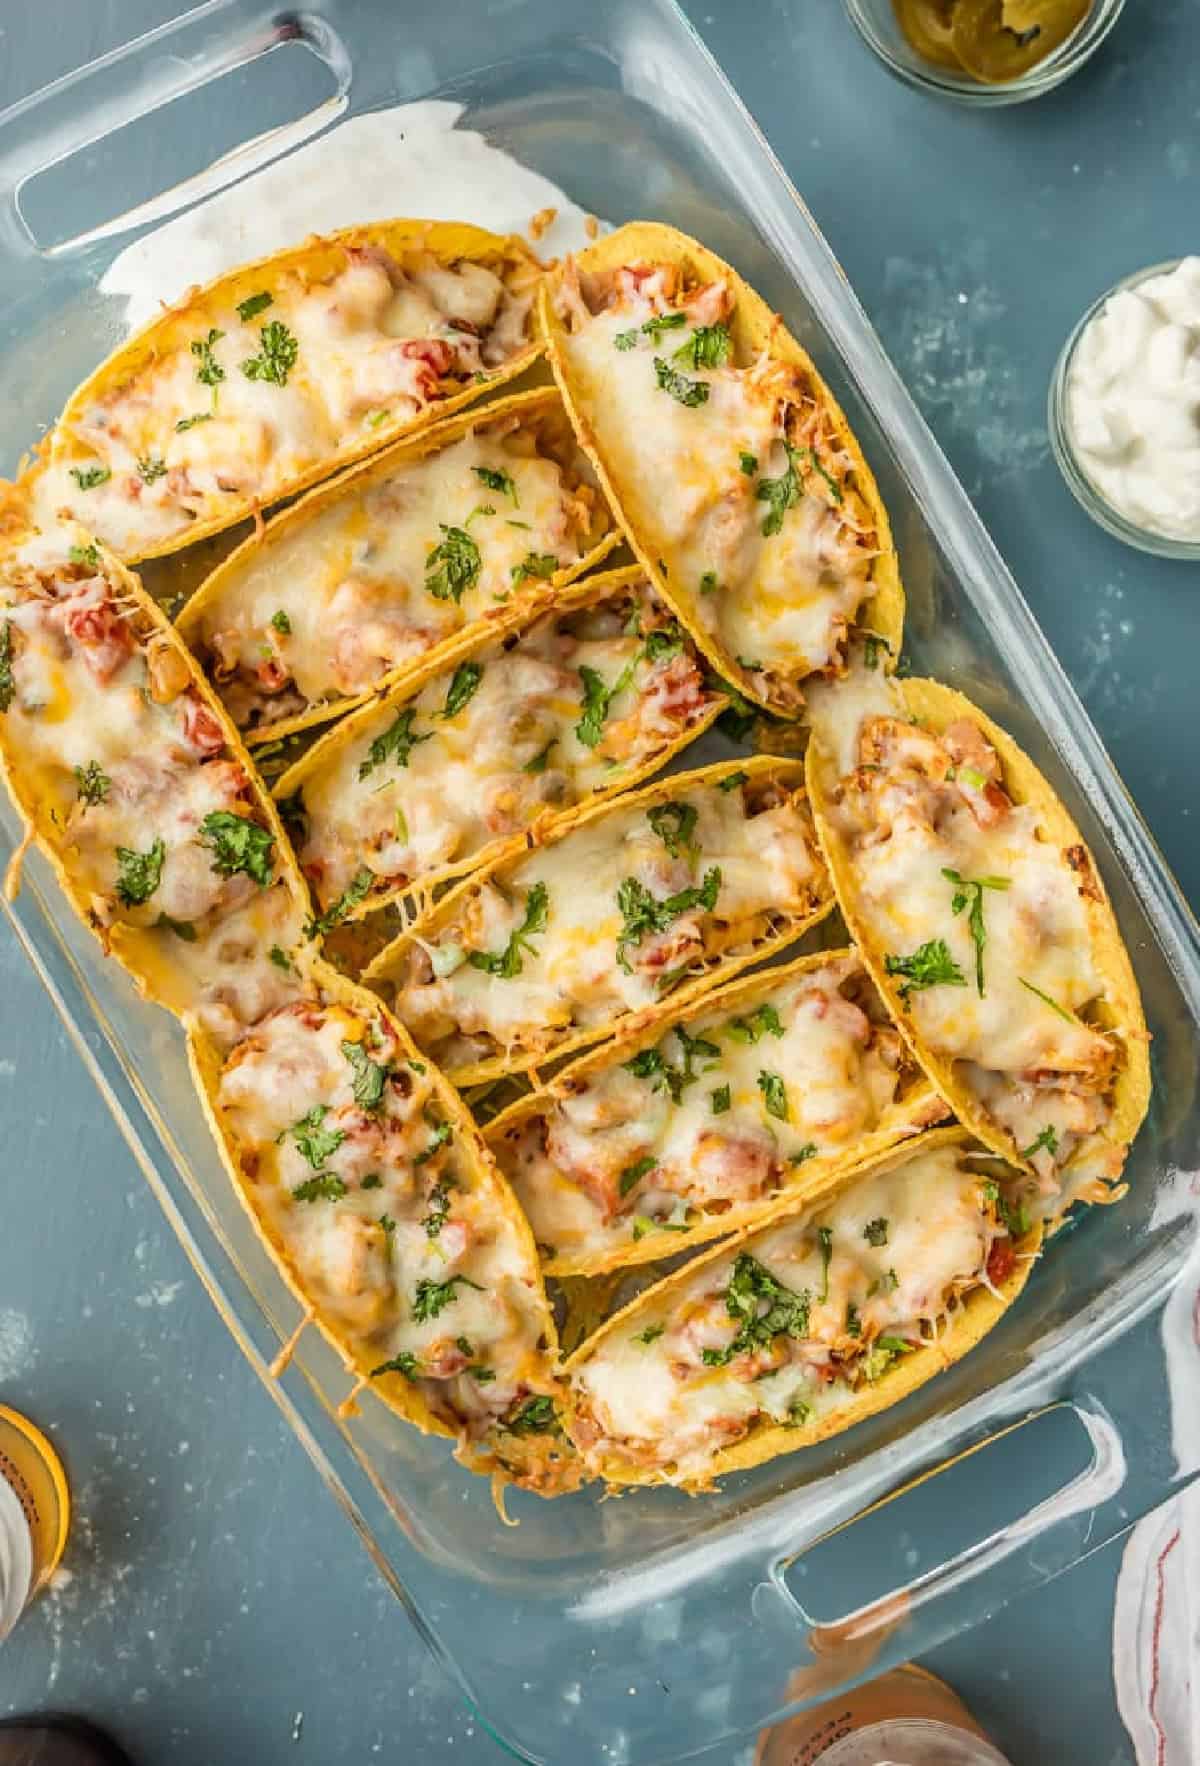
When I want to make an easy dinner for my family, I always turn to these baked chicken tacos. They’re a favorite with my kids, and I love that they involve minimal clean up and are super easy. Made in less than 30 minutes, the spicy shredded chicken filling bakes up in the crispy taco shells so fast. I developed this recipe in 2015 and it’s been the ultimate recipe for serving a crowd on game day, Cinco de Mayo, or taco night ever since. Over 2400 home cooks have ranked this recipe a 5-star favorite. I’m so proud of this recipe!
This post may include affiliate links that earn us a small commission from your purchases at no extra cost to you.
When I developed this recipe in 2015, I had no idea how many times I’d end up making it. We make it time and time again at our house, in about every flavor combination possible. I always end up coming back to this simple chicken filling, and its a favorite of my kid’s as well. This is the most popular recipe on The Cookie Rookie. It has been viewed over 6 million times and pinned over 2 million times. It’s so simple and delicious, I just know you’ll love it!
What’s in This Baked Chicken Taco Recipe?
- Shredded Chicken: Use fully cooked, shredded chicken for the taco filling. I often use rotisserie chicken for a quick and easy option.
- Taco Seasoning: This blend of spices (chili powder, paprika, garlic and onion powder, cumin, and red pepper flakes) is perfect for any taco recipe and adds so much flavor.
- Taco Shells: Use hard taco shells since they bake up nice and crispy in the oven!
- Cheese: I used Mexican blend shredded cheese, but any blend of melting cheeses will work. Freshly grated cheese gets beautifully melty!
- Green Chiles: Use a can of chopped green chiles for the chicken mixture. It adds a little bit of heat, and it’s really delicious. Just be sure to fully drain them.
- Refried Beans: The creamy texture of refried beans adds a nice layer of texture and flavor beneath the chicken. Use about half a can.
- Tomatoes: A can of diced tomatoes adds more texture to the mix. Again, be sure to fully drain these so you don’t end up with too much liquid in the chicken taco filling.
- Onion: Adds more texture and some aromatics. White, sweet, or red onions all work.


Email This Recipe
Enter your email and we’ll send the recipe directly to you!
Tips for Success
- There are a few things I do to make sure the shells don’t get soggy:
- Fully drain all canned ingredients so that there isn’t extra liquid in the filling.
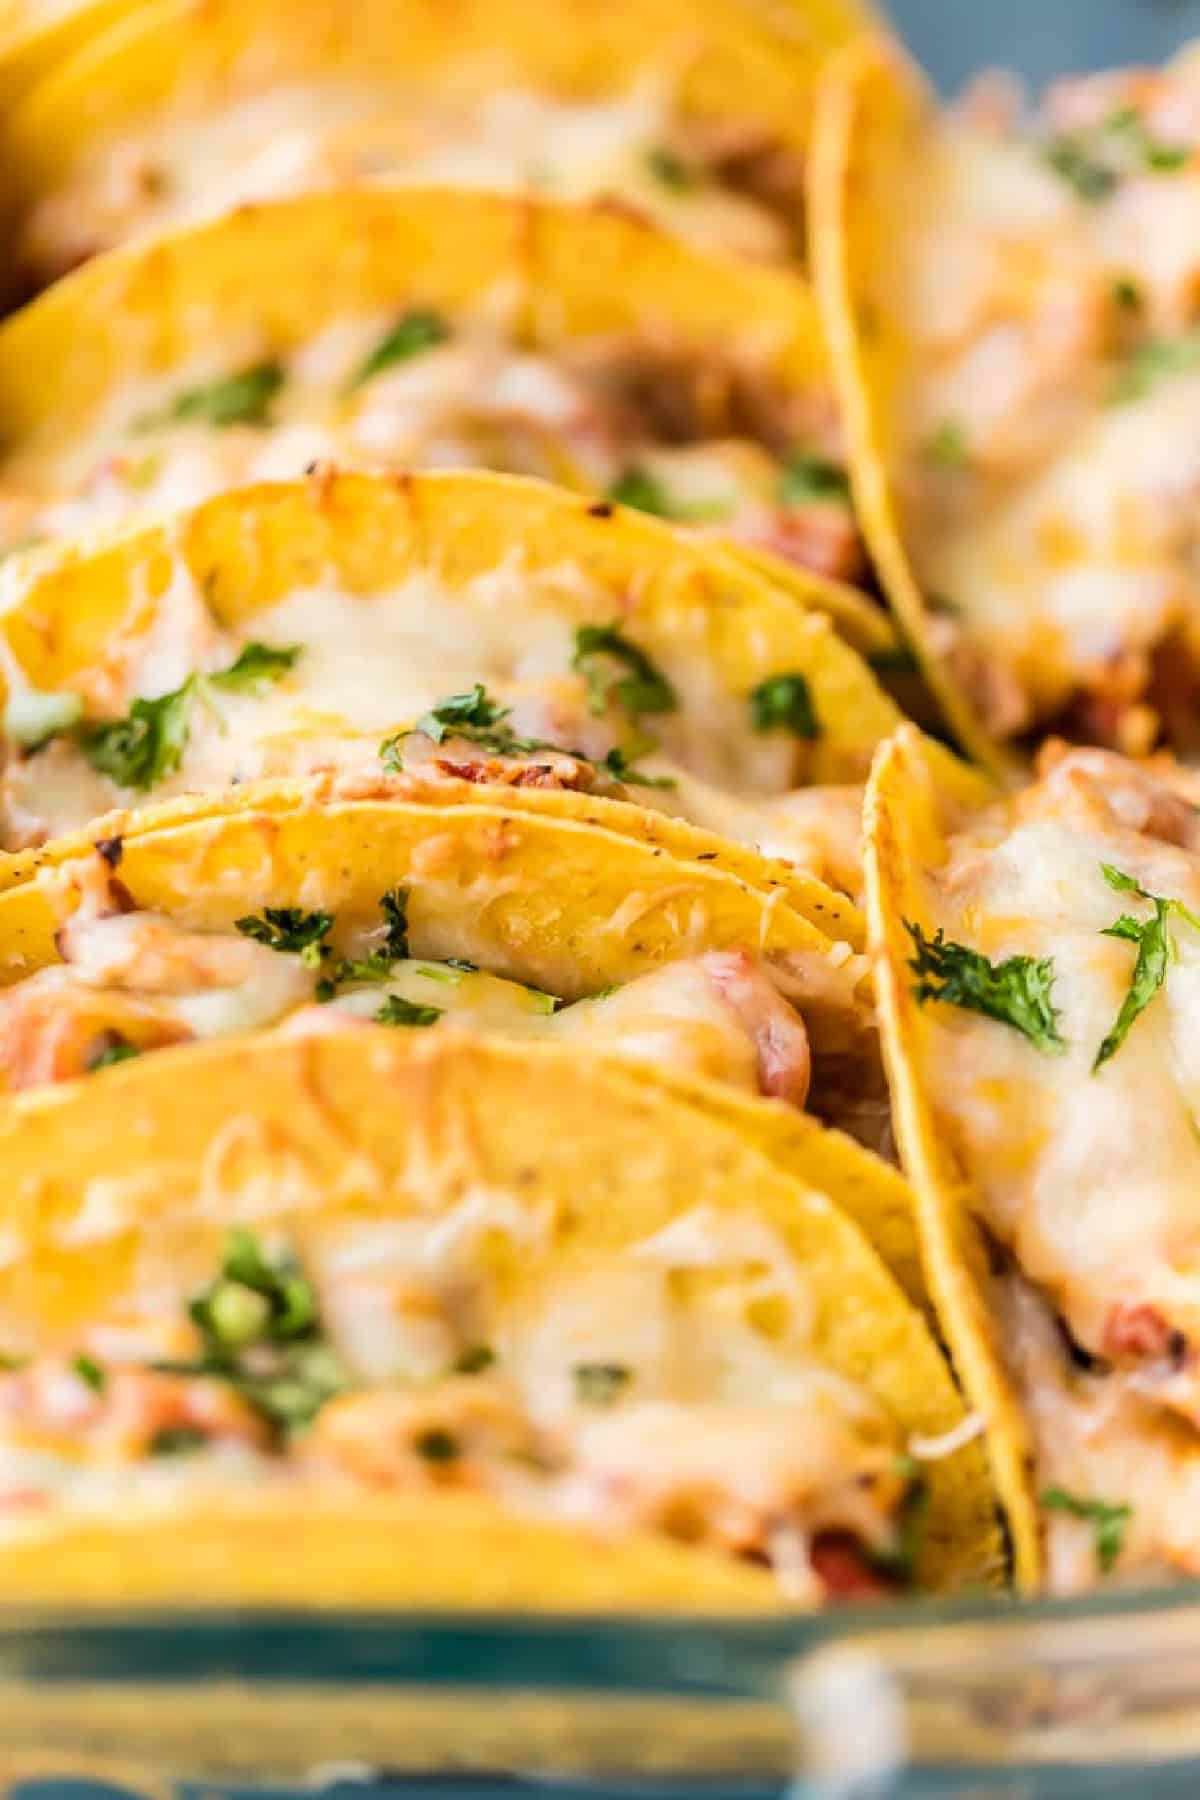
- Bake the shells by themselves for about 5 minutes before filling them.
- Layer the refried beans on the bottom, and place the chicken taco meat on top. This helps them hold up better.
- If you’re making these for a crowd or a party, you can keep them warm in the oven as you serve. We usually turn the oven down to about 250°F, and keep them in a baking dish covered with foil.
How to Store and Reheat
I generally recommend storing these baked chicken tacos separately rather than as whole tacos. Store the individual components in separate airtight containers in the refrigerator for up to 3 days.
If you have leftover tacos after baking everything together, wrap individual tacos in aluminum foil, and place them in a resealable bag. Keep in mind that the shells might get soggy if stored this way. To reheat, assemble tacos and bake as instructed in the recipe card, or until the chicken is fully heated through (165°F).

Serving Suggestions
These easy chicken tacos make Taco Tuesday a snap. They’re quick to prep for a Cinco de Mayo party, and they also make delicious game-day food. Pair them with Mexican grilled corn, Mexican rice, or Esquites for a rounded meal.
This is one of our family’s favorite meals to make on busy nights, or for a celebration. We hope you love it as much as we do.
5-Star Reviews
“I rarely leave reviews for recipes, but this was SO good and so simple, I had to say thank you! So thanks for the great recipe, it’s going in the regular rotation!” – Christy
___
“We have made these several tomes snd they’re well loved! Sure go fast! I couldn’t even get a photo of them all!!!” – Melissa
___
“I use the chicken filling for so many things other than this recipe!! It’s so good for taco salads, quesadillas, soft tacos, the list goes on. I make a double batch and eat the variations throughout the week!” – Catie
___
“This is a go-to in our household. It’s so quick, simple, and delicious- and since it’s just my husband and I, we have enough for two days! :)” – Brittany
How to Make Chicken Tacos Step by Step
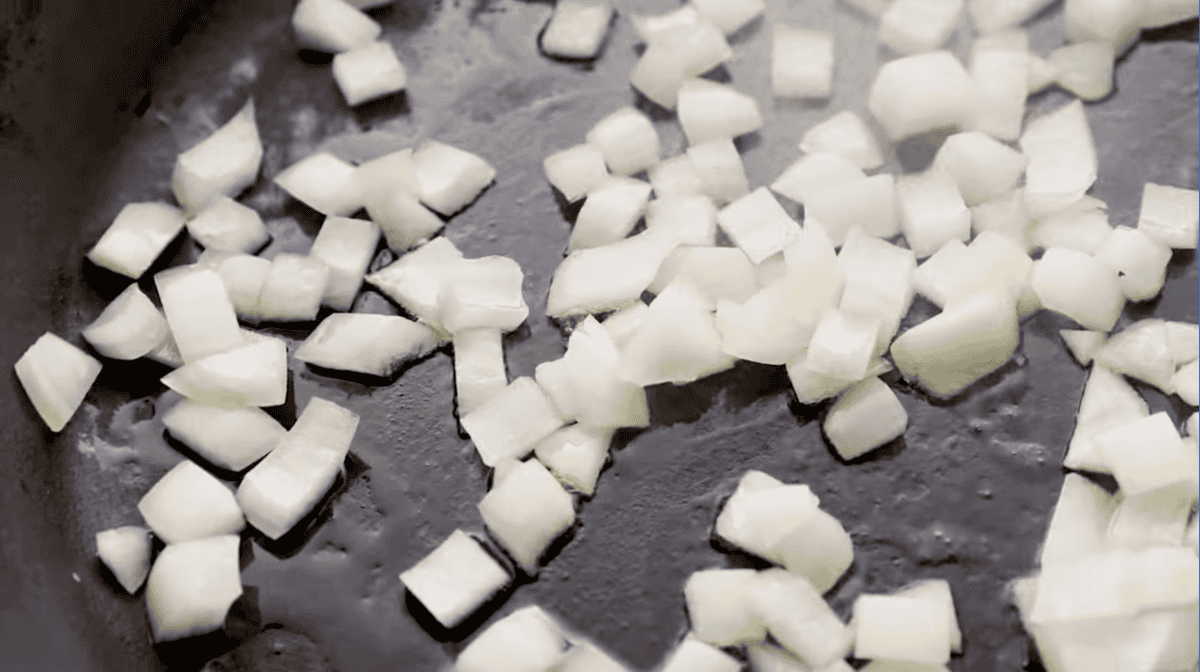
Sauté the Onion: Preheat your oven to 400°F. Spray a 9×13-inch baking dish with nonstick spray and set aside. Heat 1 tablespoon of olive oil over medium heat in a medium skillet. Add ½ cup of diced onion to the skillet and cook for 2-3 minutes, or until the onion is translucent and fragrant.
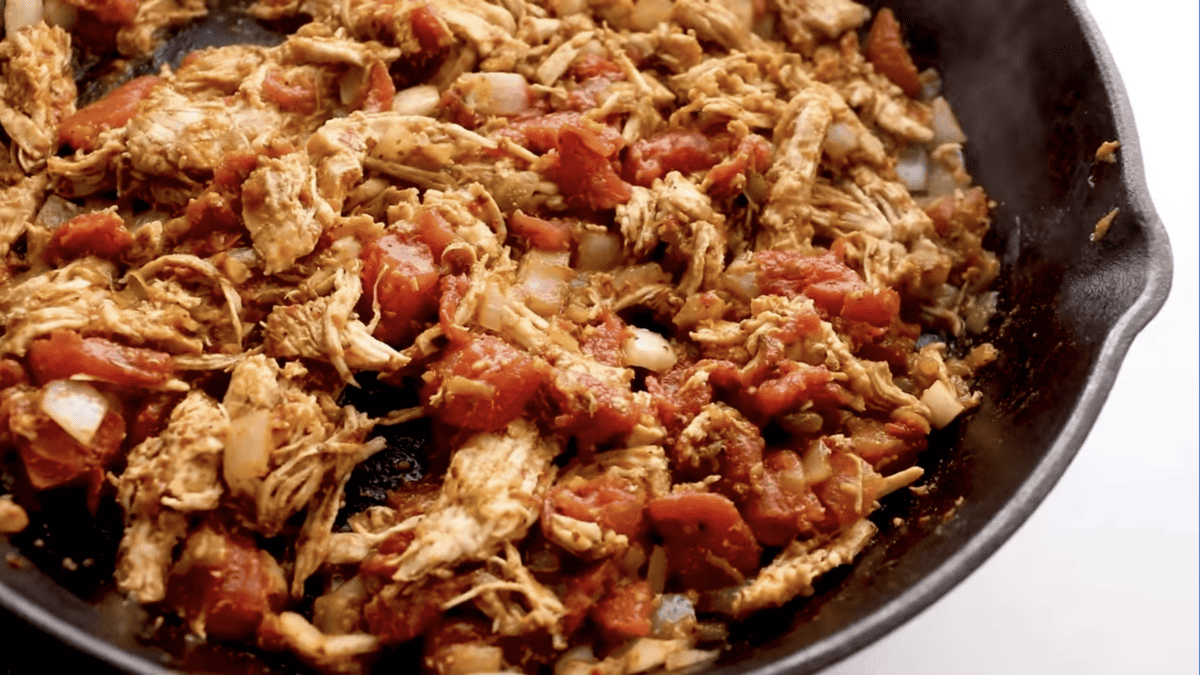
Simmer the Filling: Stir in ½ pound of shredded cooked chicken, 1 ounce of taco seasoning, 14.5 ounces (1 can) of diced tomatoes (fully drained), and 4.5 ounces (1 can) of diced green chiles (fully drained). Stir to combine fully. Reduce to simmer and allow to cook for 5-8 minutes.
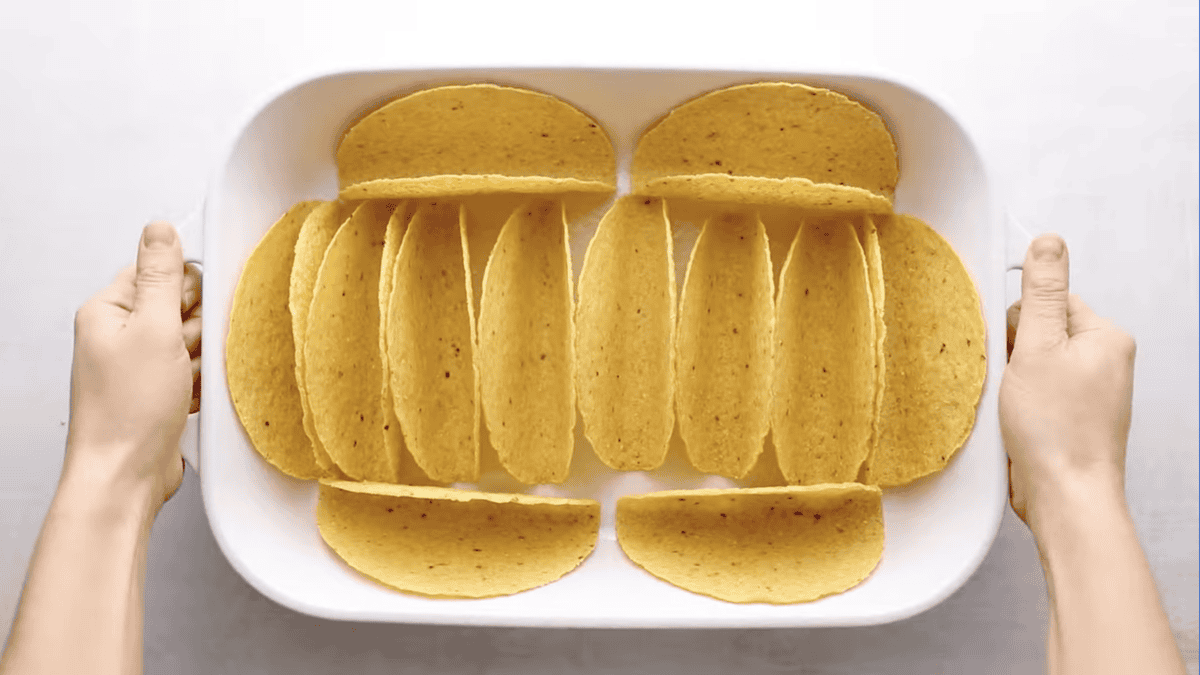
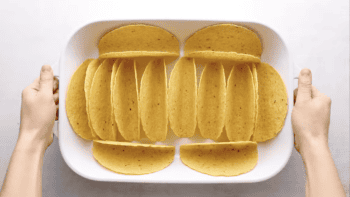
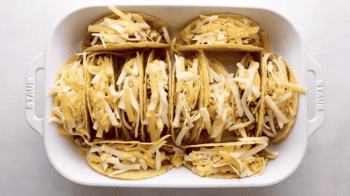
Bake the Taco Shells: Place 10 hard taco shells in the baking dish, standing up. We were able to fit 10 taco shells in the dish by adding 2 on each side. Bake the taco shells for 5 minutes by themselves to allow them to crisp up. Remove from the oven.
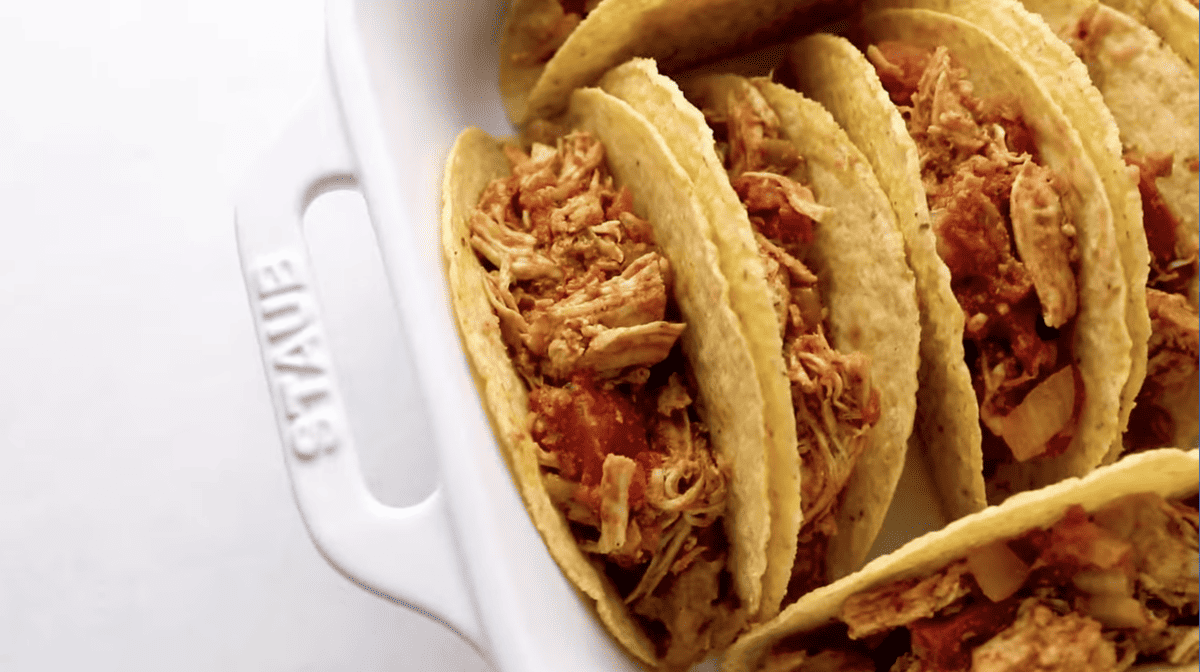
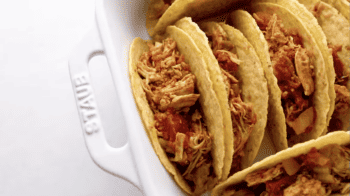
Fill the Tacos: Spoon 1 tablespoon of refried beans into the bottom of each taco shell. Top with the chicken mixture, filling almost to the top of each shell.
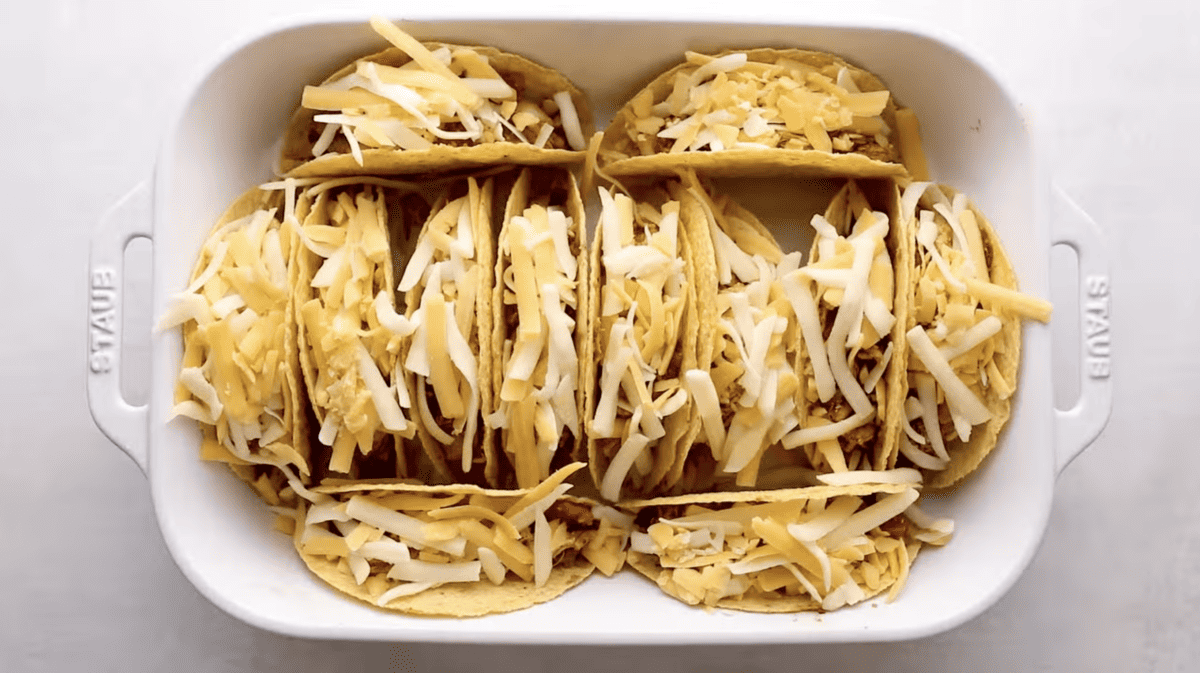
Top with Cheese: Sprinkle each shell generously with 2 cups of shredded Mexican blend cheese, the more the better!
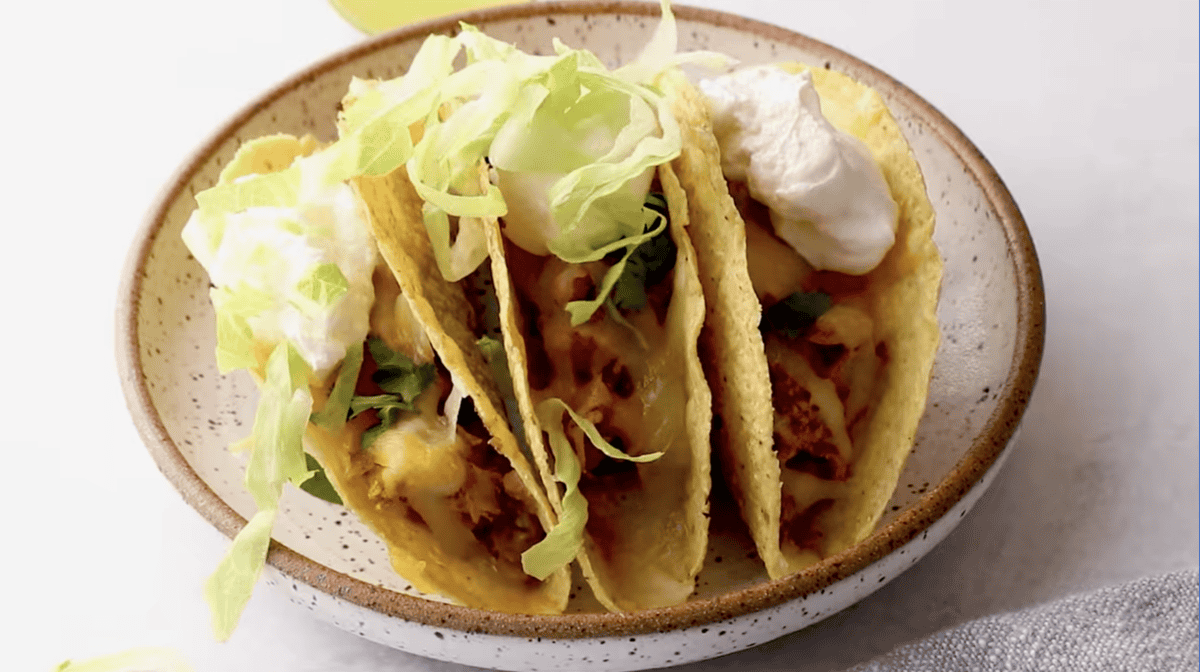
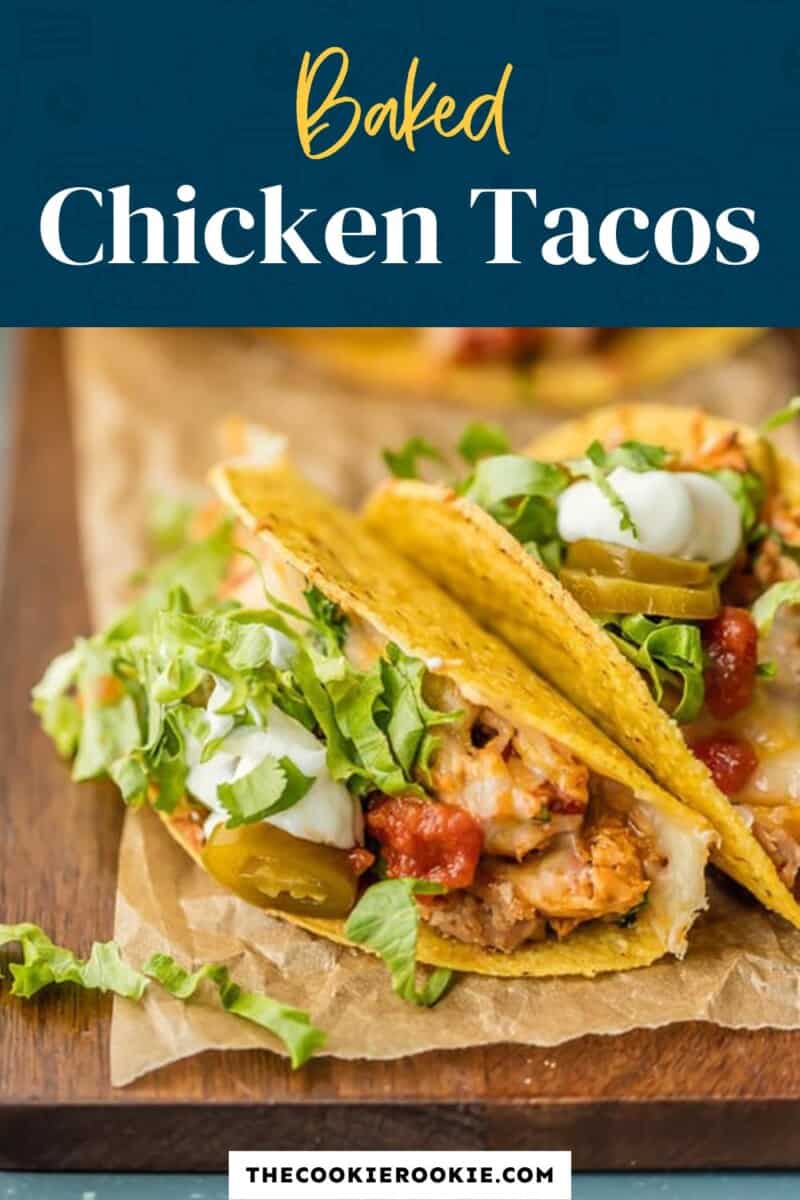
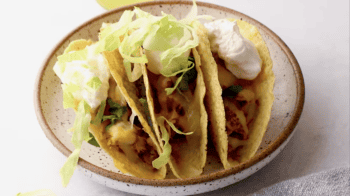
Bake and Serve: Bake for 7-10 minutes, or until the cheese is fully melted and the edges of the shells are browned. Remove from the oven and top with your favorite items such as jalapenos, sour cream, shredded lettuce, cilantro, and salsa.










Where did you get the chicken from?
Any grocery store that sells rotisserie chicken! Everyone has different stores based on location!
Soo delicious. Followed the recipe 100%. Yummy! Even my 4 year old loves it!
Thanks for sharing, Diana!!
These are such a hit at my house. Super easy to make and super delicious! Great for a weeknight dinner with football practice. Never any leftovers!
That’s awesome! Thanks for stopping by and sharing, Nicholas!
how much in tsp is 1 ounce of taco seasoning?
Six teaspoons!
Everyone loves these. I had a request for them again and checked to make sure i had the right recipe. It was and I will be making them again this week and will be loved by all.
So good. My family loved them. Jhana
Thanks for sharing, Jhana!
this recipe is terrible the instructions on it are garbage it doesnt even say how much of an ingredient to use 0 stars
I am sorry this wasn’t up to your taste, Zachary!
Literally right above the instructions there is the ingredient list..it tells you how much to use. You can’t call a recipe garbage if #1 you couldn’t even figure out basic instructions/ingredients, and #2 if you couldn’t figure it out I’m sure you didn’t even get to eat it, which is your loss all together this recipe is great!
Thanks for sharing, Catie!
It tells you exactly what the measurements are in the ingredients.no need to be so rude.
Please tell us why you feel they are so bad. They sound wonderful.. I can’t wait to make them.
I hope you enjoy them, Sandy!
Looking into making these, but there are just two of us and one a light eater. Is there a way to deal with leftovers? My thought is that the shells will get super soggy.
Only bake as many tacos as you guys would eat, put the rest of the filling in the fridge. Once you’re ready to reheat them, reheat the filling separately, then add to taco shells and then bake!
Can these be made in advance at all? I’m thinking of having them ready to bake when coming home from a family celebration. I’ll be serving about 12. Thank you.
You will want to fill the tacos after you return or else they’ll probably get soggy before baking!
My husband told me I had to go in here and rate these because he thought they were amazing and in his top 5 favorite meals! They were awesome! My only addition was some garlic to the onions. This was a great recipe!!!
That’s awesome! Thanks for sharing, Erin!