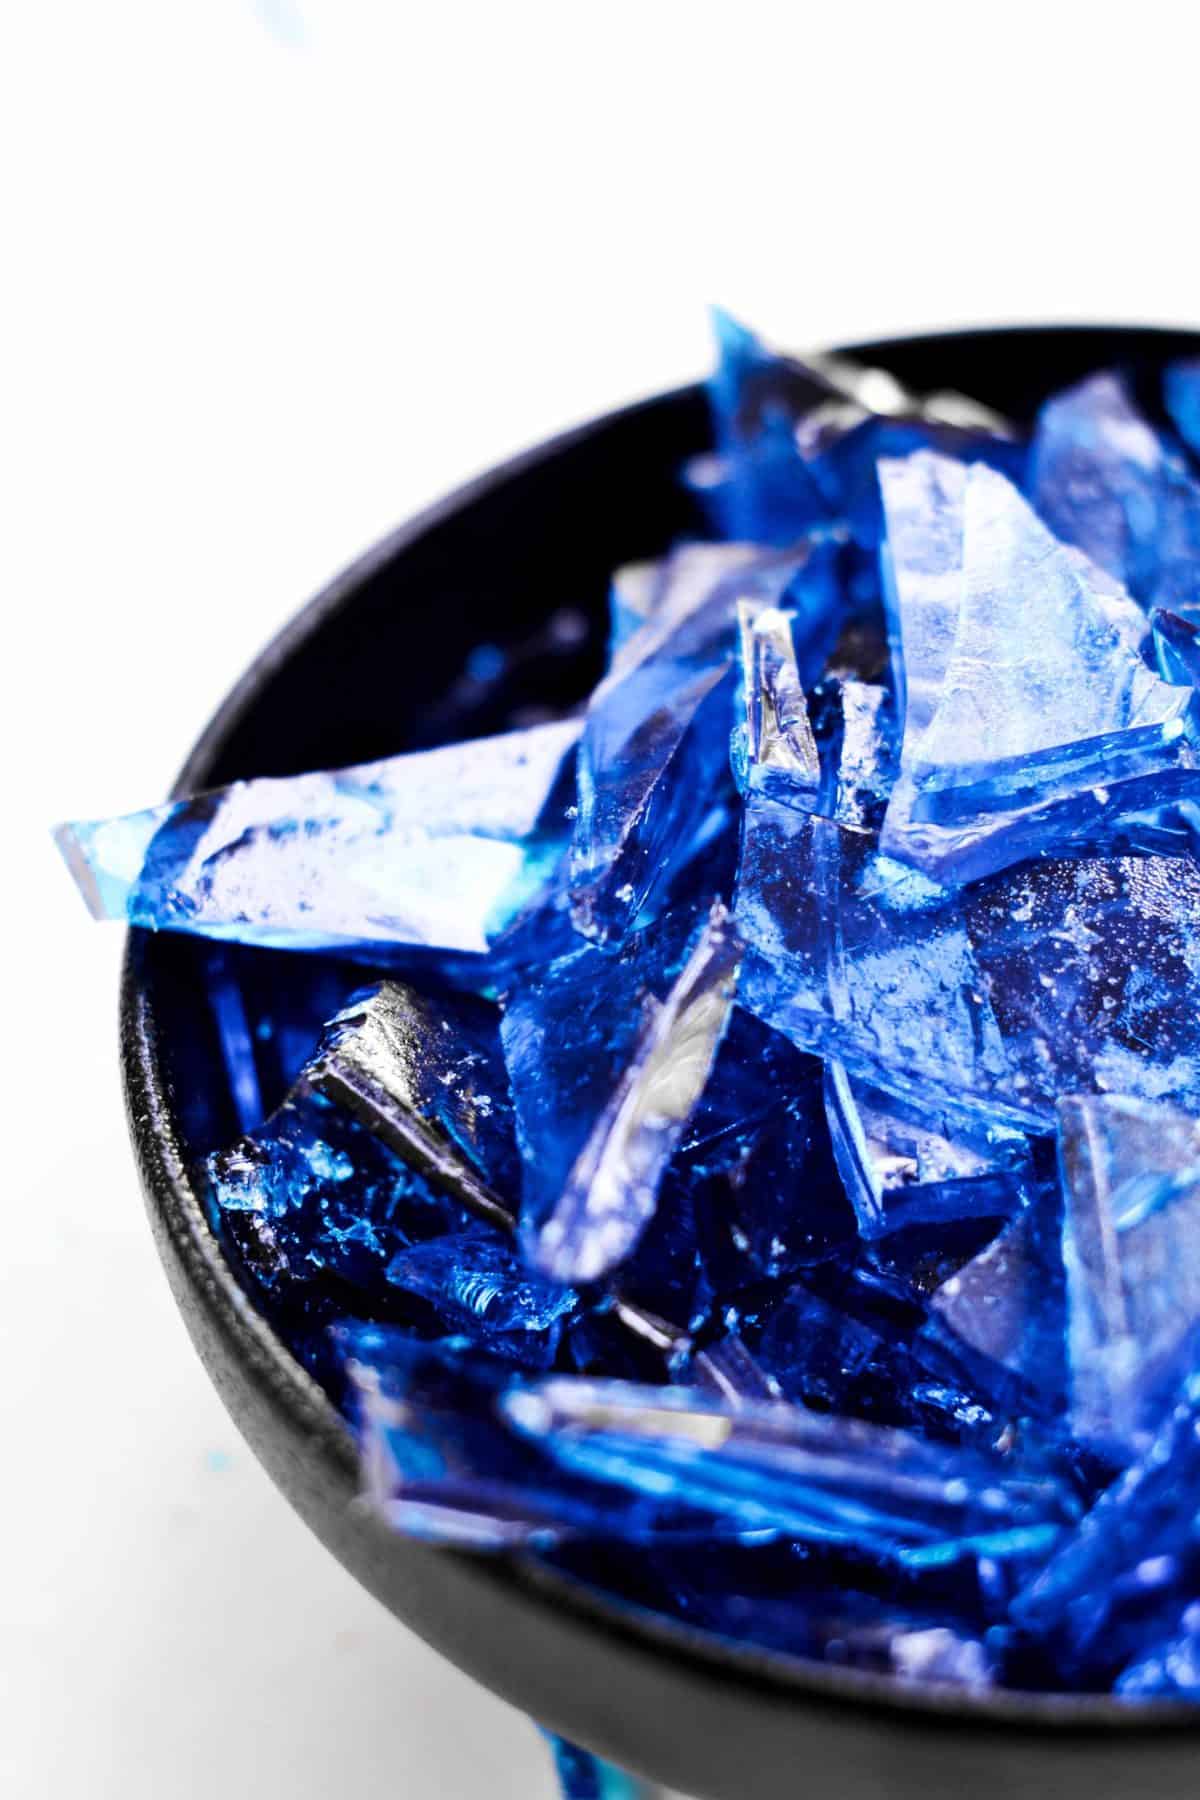
Learning how to make rock candy at home was a total game-changer for me. It’s such a fun and special treat to share with my friends and family on special occasions. I chose to make raspberry-flavored blue rock candy, but you can make any color or flavor you like with this quick and easy rock candy recipe!
This post may include affiliate links that earn us a small commission from your purchases at no extra cost to you.
With my easy recipe, you’ll learn how to make rock candy sheets quickly and easily. It’s a fast way to make it, and you can make any color or flavor with this method. There’s no need to wait for days and days when you can make delicious blue rock candy in just 20 minutes!
What’s in This Rock Candy Recipe?
- Water: Helps to dissolve the sugar into solution.
- Light Corn Syrup: Helps prevent sugar crystallization. It contains glucose, which interferes with the formation of large sugar crystals, resulting in smoother and smaller sugar crystals that are characteristic of rock candy.
- Granulated Sugar: This is the main ingredient that will form the candy. As the sugar solution cools and evaporates, the sugar molecules come together and form crystals.
- Flavoring Extract: I used raspberry, but you can use just about any flavor!
- Food Coloring: I used blue, but feel free to choose any color or leave your candy plain. Both water and gel food coloring will work.
Tips for Success
- You can choose any color and flavor combination you like! Try green candy for St. Patty’s Day (with lime or sour flavor), orange and black for Halloween, or red with strawberry flavor for Valentine’s Day. The possibilities are endless!
- Temperature is super important! You’ll need to bring your sugar to the hard crack stage, which is 300°F; otherwise, it will not harden.
- If your candy doesn’t harden, even after sitting for a long time (it should only take 45 minutes, not much longer), it might be that your liquid never got hot enough. It’s important that the temperature reaches 300°F while cooking the syrup. And the best way to make sure it gets hot enough is to use a candy thermometer to check. This is not the time for guessing!
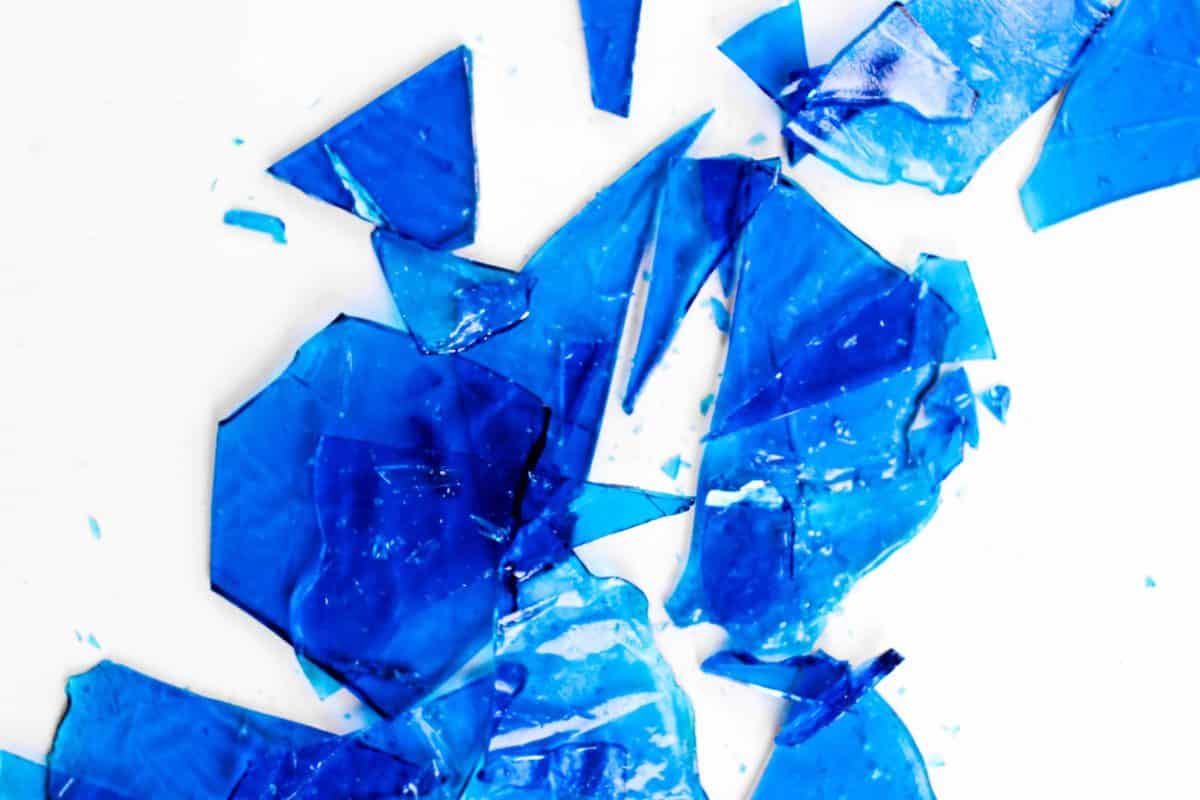
- To turn the sheet of candy into small pieces, it’s easiest to use a metal mallet (like a meat tenderizer). Just hit the sheet with it until it breaks into pieces. If you want to make it look more like rock candy, place those pieces into a bag, and use a rolling pin to crush them up even smaller.
How to Store
Store leftover rock candy in a Ziplock bag at room temperature for up to 1 month. Keep it in a cool, dry place. I had a reader comment that a great way to keep the pieces from sticking together is shaking them in powdered sugar before sealing them in an airtight container. Genius!

Serving Suggestions
Serve this tasty candy with a fun and colorful drink or cocktail, like lavender lemonade, cherry limeade, blue margaritas, a blue Hawaiian, or a cotton candy martini!
5-Star Review
“Just made this! And it is awesome and so easy! I will actually use this rock candy as the gems in my geode cake later this week! I used lemon extract in mine and it is delicious! Thank you!!” – Lauren
How to Make Rock Candy
Equipment
- Kitchen Scale (optional)
- Baking Sheet
- candy thermometer
Ingredients
- ½ cup water 114 grams
- ¾ cup light corn syrup 234 grams
- 2 cups granulated sugar 400 grams
- 2 teaspoons flavoring extract 8 grams (I chose raspberry, but there are lots of flavors to choose from!)
- Food coloring optional (I used blue, but use any color!)
Instructions
- Mix all ingredients together in a medium saucepan set over medium heat.½ cup water, ¾ cup light corn syrup, 2 cups granulated sugar, 2 teaspoons flavoring extract, Food coloring
- Stir until boiling. Once the liquid begins to boil, do not stir until finished.
- While the candy comes to a boil, line a baking sheet with aluminum foil and spray the foil with nonstick spray. Set aside.
- Once boiling, place a candy thermometer in the liquid and monitor closely. when the liquid reaches 300°F, take off the heat and set aside.
- Allow the mixture to cool until the bubbles quit breaking at the surface of the liquid.
- Pour liquid onto the prepared baking sheet.
- Allow to cool until fully hardened. Then, break apart to the size desired.
Becky’s Tips
Nutrition information is automatically calculated, so should only be used as an approximation.



I’ve made 4 batches with recipe. The first one came out perfect the other 3 were really sticky. I made them all the same way. What could be the problem ? I love the recipe it’s simple.ijust have the problem with them being sticky.
Hi Valerie, usually sticky candy is due to it not being taken all the way to “hard-crack” temperature (300°F) or too much moisture in the area where it was set to dry.
Thank you for sharing your recipe!! Love making rock candy, I love making cinnamon ones. I use food grade good neighbor cinnamon oil. My daddy says I never add enough lol. But then I never measure just pours the oil in and really have to stir it, so it gets all in on not sitting on the top.
Tried this recipe using lemon and orange. Only had the slightest hint of flavor. IF I try it again, I will be doubling the flavor extract.
Hi Mrs. Adams, we’re sorry to hear this recipe didn’t work out as expected! What brand of flavoring did you use? We recommend something strong, like LorAnn, for the best flavor. You may have to adjust depending on your personal preference, though!
I find if I add flavors after it reaches the temp and stir it in really good it tastes more flavorful.
I love the way you wrote out the directions and thank you for the pictures. My question before I get going on this is what would happen if I stored it for longer than a month? I’ve heard other people say that it can be stored for up to a year. We’re heading into October and I’d like to get going on Christmas projects. So, would 3 months be too long to store this recipe?
Hi San, 1 month is our recommendation, but it will probably keep for longer so long as it’s kept in a cool, dry place.
I store mine in glass jar or a metal tin container, they seem to last longer. I also use the powder sugar so they don’t stick! And keep in a cool dry space. When I make mine I usually sit the trays in our camper to cool. Then bring them in to package them.
this worked for me as a scenic fair project it worked because I am doing rock candy and it worked really good for me but I am a special ed kid I work better with a video as well so I know what you mean and talk about.
Hi Kevin, flavoring extracts and oils are very different! I would recommend using only a drop of oil, as it is much, much stronger than an extract!
The rock candy became great.The only problem that I can’t explain is why it turned green when I put blue color.The first ones were blue but the next were pure green.
Food coloring can be tricky! It’s likely that the sugar caramelized more between the first batch and the second, which adds a yellowish pigment to the candy that combines with the blue to produce green!
I made this today and by the time it got to 300 it was burnt and tasted like ginger(I made lemon), it could be because I used agave instead of corn syrup. Do you think this is the cause?
More than likely! It’s very important to use corn syrup, as it behaves differently than agave!
It might be because I used Dark corn syrup by accident, and because I used vanilla to flavor it, but my rock candy don’t taste great. It sticks to my teeth and tastes gross, but I admit, it might be because of me.
We do think dark corn syrup could be the culprit here! It imparts a much stronger molasses-y flavor which can become unpleasant and even bitter. As for the stickiness, make sure you’re using a properly-calibrated candy thermometer and getting the sugar up to 300°F (the hard crack stage). It sounds like your sugar may have only made it to the soft crack stage!
First attempt and I think they came out great! Sadly didn’t realize I didn’t have more sugar on hand and only made 3 flavors – watermelon, root beer, and cherry and then ran out. Next time I’ll make grape and peppermint, and maybe raspberry! Cheap candy thermometer off Amazon worked like a charm!
Wow, that looks perfect, Christine!