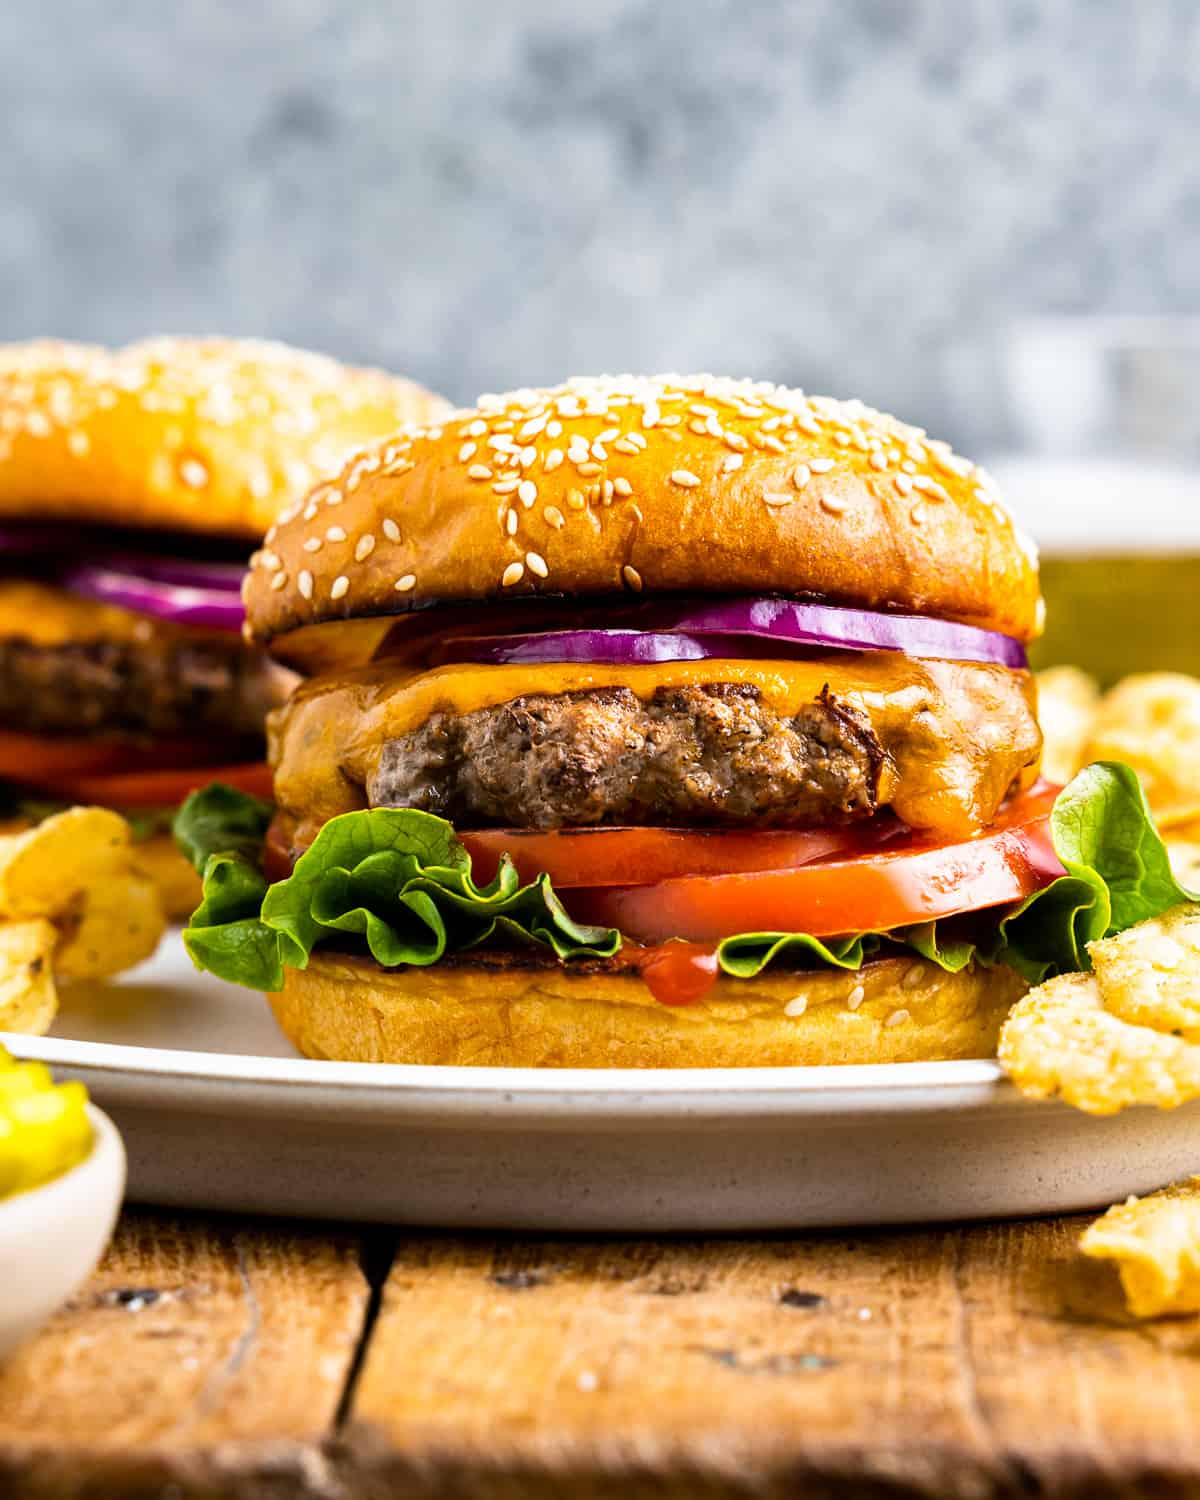
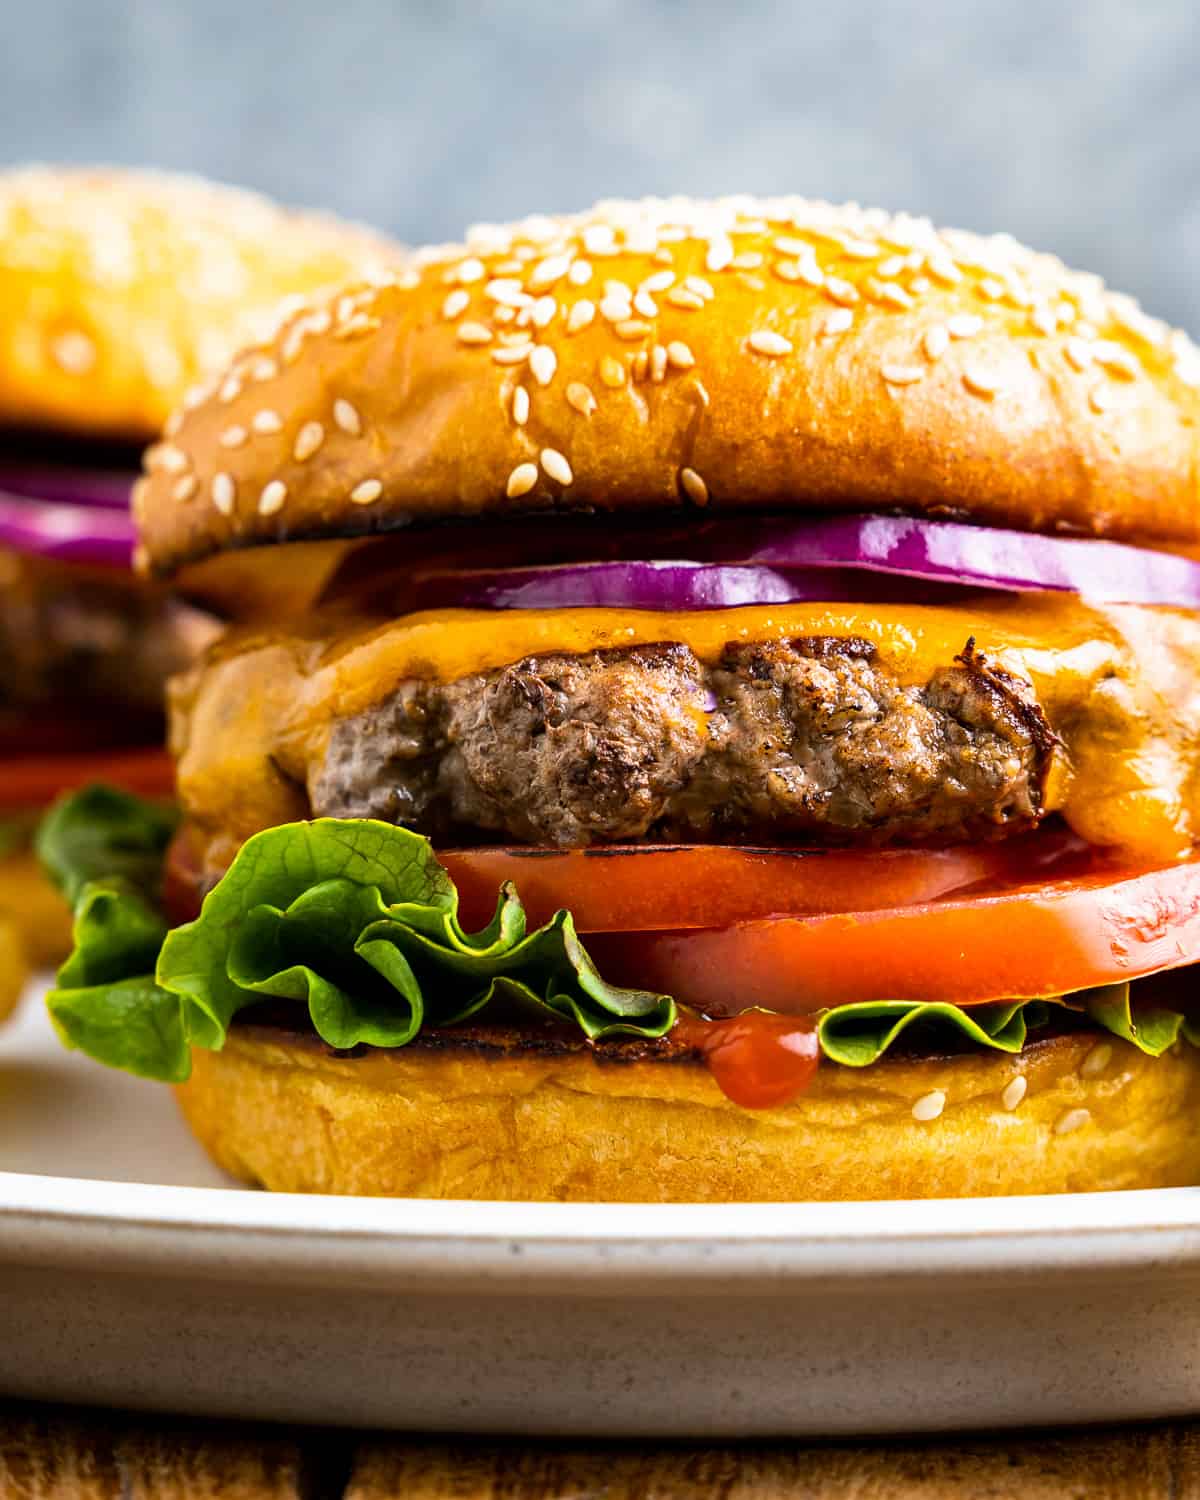
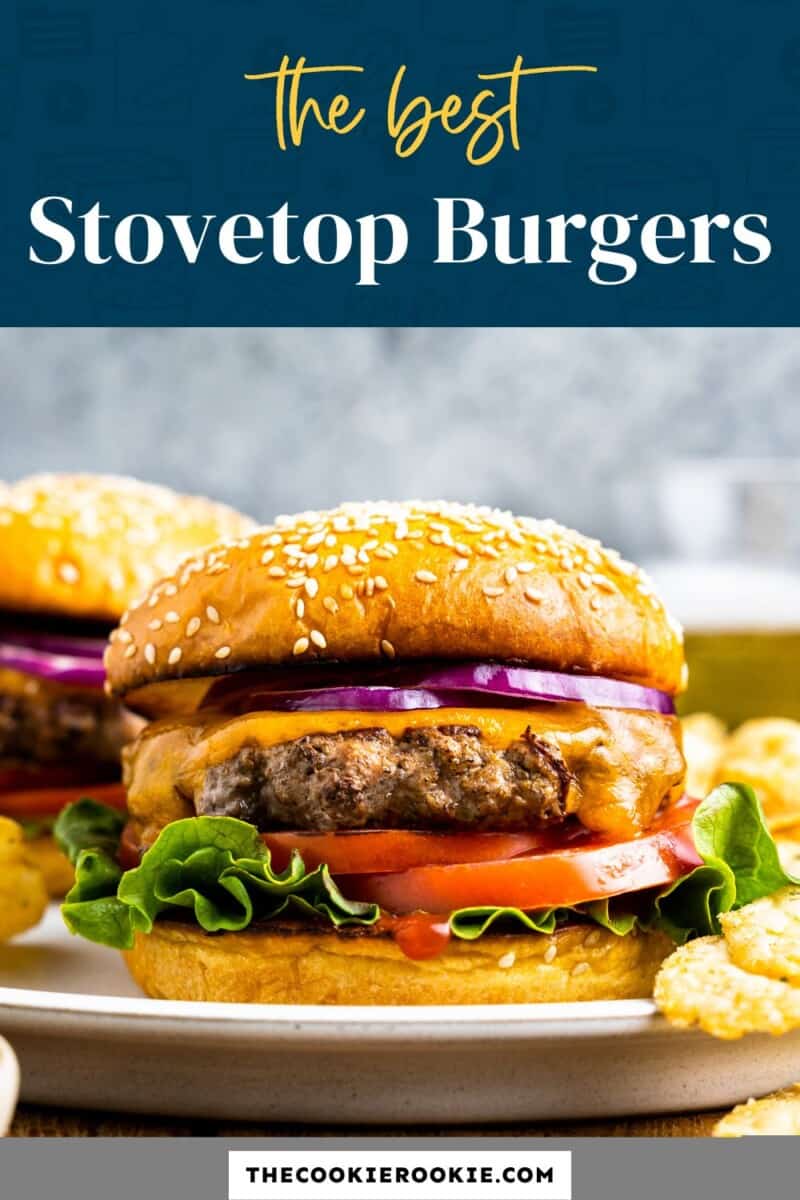
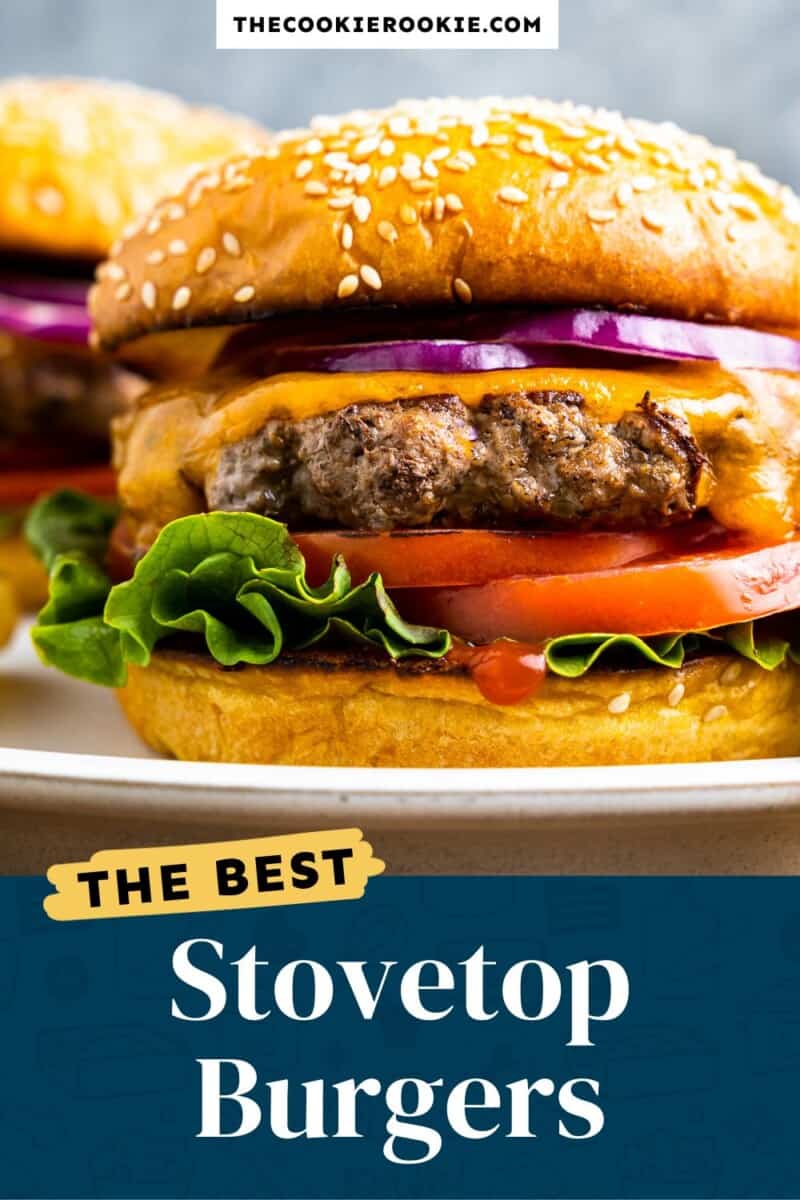
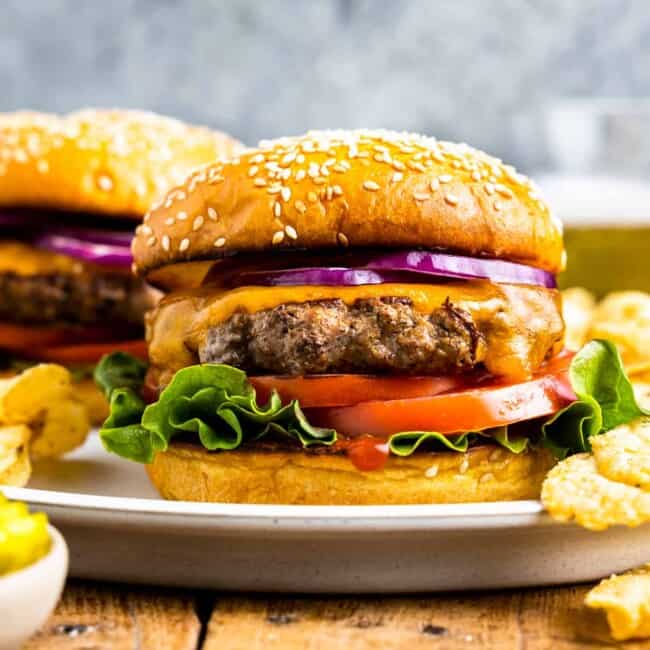
One of the recipes we make most at our house are burgers on the stove. I love that we can make it year round, no matter the weather. Stovetop Burgers are easier than you think! I form simply seasoned burger patties, pan-fry them in a skillet, and have found the exact cooking time and temperature to make sure you get it right.
This post may include affiliate links that earn us a small commission from your purchases at no extra cost to you.
What’s in This Hamburger Recipe?
I love that cooking burgers on the stove only requires a few ingredients and 20 minutes to make. All I need is ground beef, cheese, toppings, and seasonings. This is one of my favorite burger recipes because it’s so simple and versatile!
- Ground Beef: Ground chuck is ideal for burger patties. I recommend meat that is 80% lean and 20% fat. Avoid anything leaner than 85% or you’ll end up with burgers that are dry and tough.
- Seasoning: I keep the seasoning simple with salt and pepper to taste. But feel free to add in garlic and onion powder, paprika, or your favorite burger seasoning blend.
- Cheese: A slice of American or cheddar cheese is perfect for cheeseburgers, but any type works fine (try pepper jack or Swiss). Or you can skip the cheese if you prefer a hamburger.
- Hamburger Buns: Grab your favorite buns for serving. Brioche buns are a great way to make them feel a little more gourmet, but any type is fine.
- Toppings: Top with your favorite ingredients! Add lettuce, tomatoes, onion, pickles, caramelized onions, sweet relish, and more.
- Condiments: Add mayo, mustard, ketchup, burger sauce, relish, or any condiments you like.
How Long Do You Cook burgers on The Stovetop?
I prefer my burgers cooked to medium, but everyone is different. From medium-rare to well-done, here are the internal temperatures and cooking times (per side and total) when making burgers in a skillet. (See our Burger Temperature Chart for even more info!)
| Doneness | Color | Internal Temp | Cook Time (per side) | Cook Time (total) |
|---|---|---|---|---|
| Medium-Rare | red in the middle | 130-135°F | 3 minutes | 6 minutes |
| Medium | pink in the middle | 145°F | 3-4 minutes | 7-8 minutes |
| Medium-Well | smidge of pink | 150-155°F | 4-5 minutes | 9 minutes |
| Well-Done | no pink | 160-165°F | 5 minutes | 10 minutes |
Note: The USDA officially recommends that hamburgers be cooked to an internal temperature of 160°F to ensure all bacteria is killed. If you choose to do more of a Medium cook, be sure you’re using the freshest beef or even making your own ground beef!

Email This Recipe
Enter your email and we’ll send the recipe directly to you!
How to Store and Reheat
Once cooked, I let burgers cool to room temperature. I store them in a resealable bag, airtight container, or wrapped tightly in aluminum foil. We keep them in the refrigerator for up to 4 days.
For best results, reheat burgers in a nonstick pan on the stovetop until they are fully heated through. Try adding about 3 tablespoons of water to the pan to create steam–this will keep the patties from drying out.
How to Freeze Burger Patties
To freeze homemade burger patties, let them cool completely. I recommend wrapping each one separately with aluminum foil, and then placing them all in a freezer-safe, resealable bag. Freeze for 3 months.
I always let them fully defrost in the fridge before reheating.
Serving Suggestions
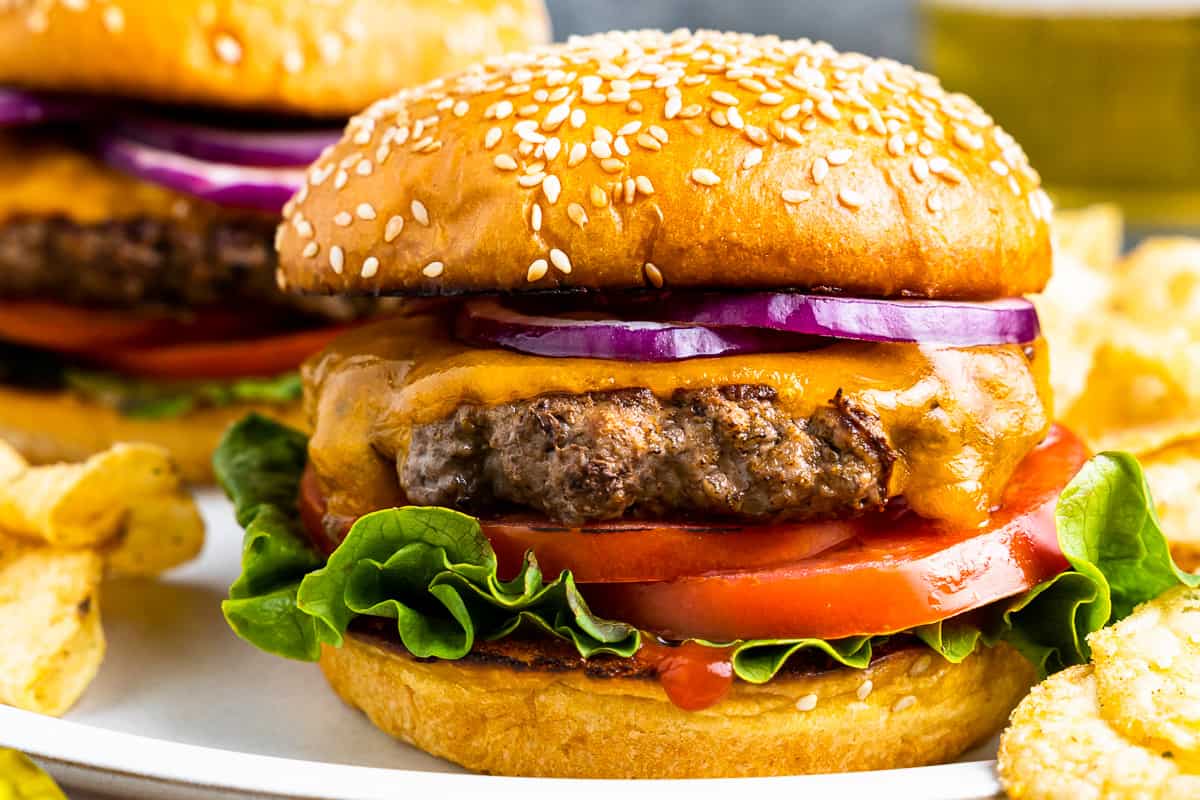
The best stovetop burgers deserve the best side dishes! I usually serve these classic French fries (my kid’s favorite), but any kind of fry will do. We have tried baked sweet potato fries, parmesan potato wedges, or even zucchini fries.
Notes from the Test Kitchen
The key to a perfect Stovetop Burger is knowing how long to cook burgers, testing your internal temperatures, and keeping things simple. I think the most important thing is to not overdo it–just let the juicy beef speak for itself!
5-Star Review
“I made these burgers the other day. My husband and I both LOVE them. Easy to make and cheaper than going to a burger joint. I will definitely be making more!” -Sarah
How to Cook Burgers on the Stove Step by Step
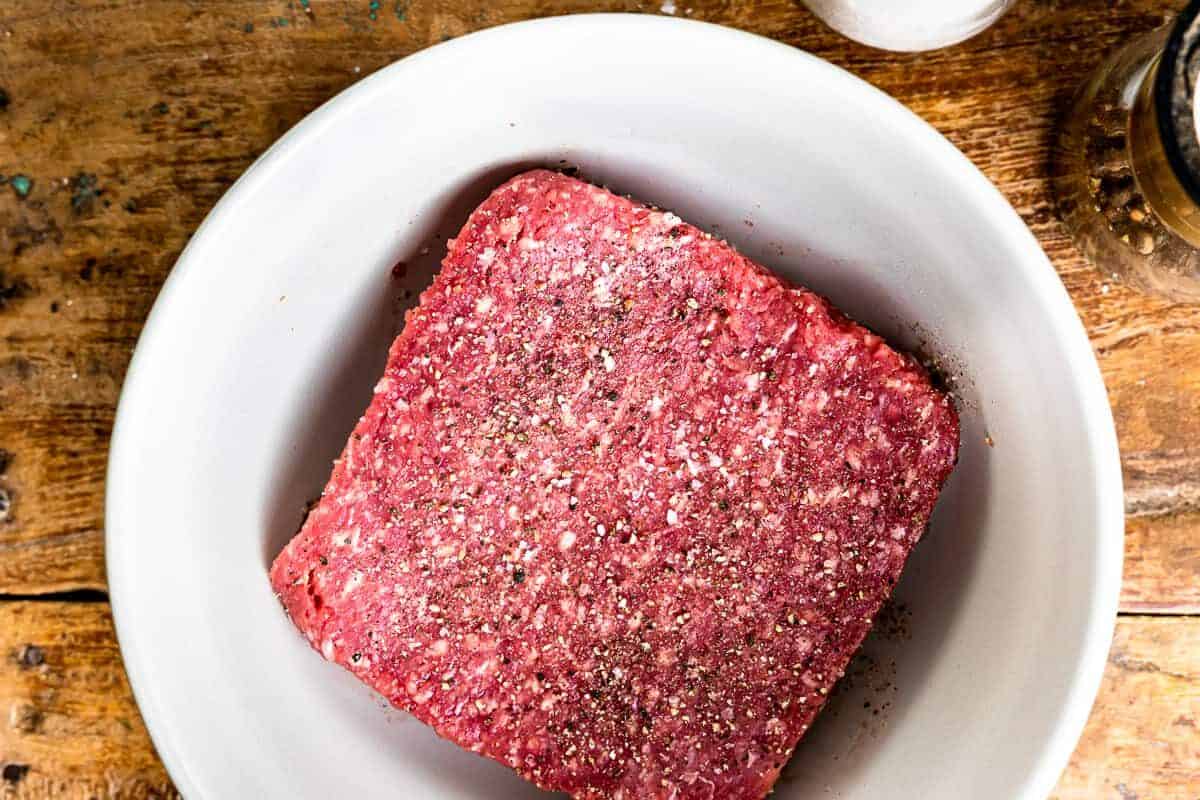
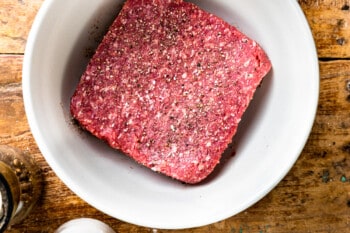
Season the Meat: Place 1 pound of ground chuck in a medium-sized mixing bowl and sprinkle with salt & pepper to taste. Mix gently to combine, but don’t overwork the meat.
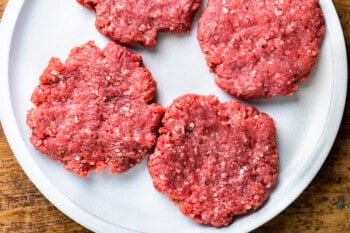
Form the Patties: Divide the meat into four equal portions (¼ pound each). Place one portion on a plate and gently press it into a 1-inch thick, round patty. The patty should not be smooth – leave some craggy edges and don’t press it too flat.
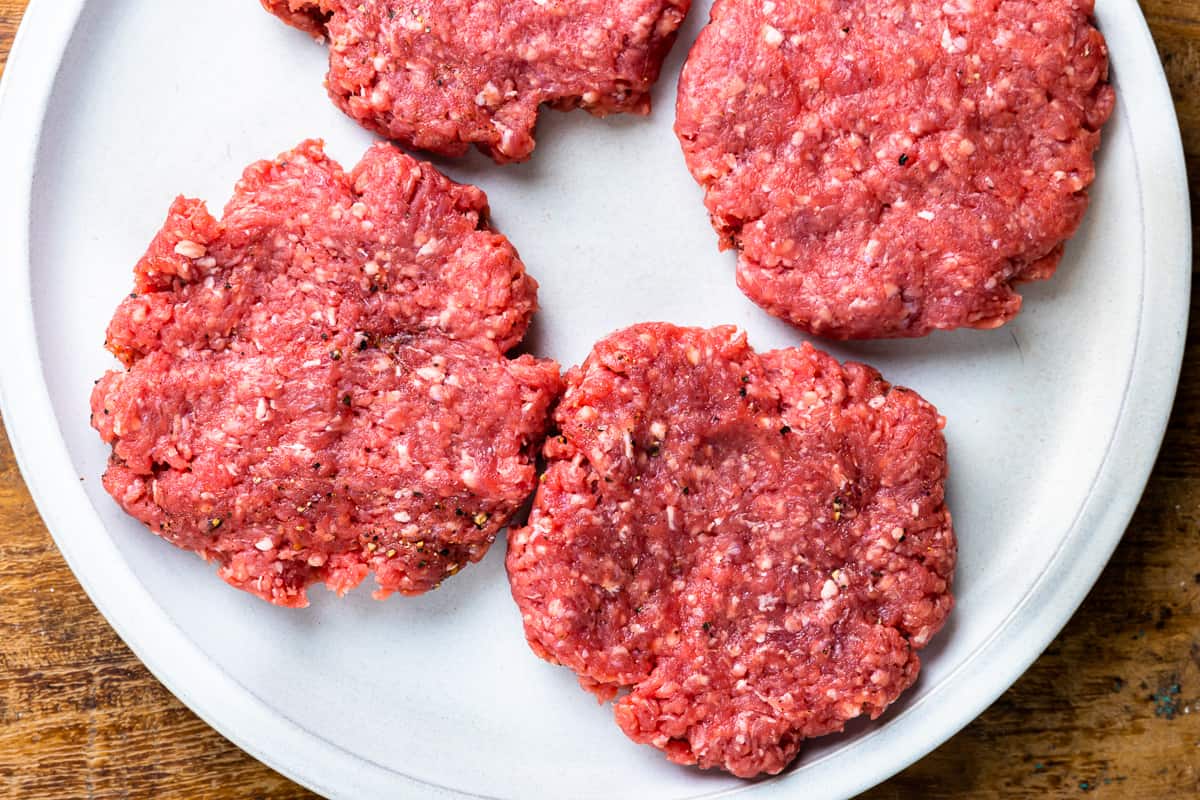
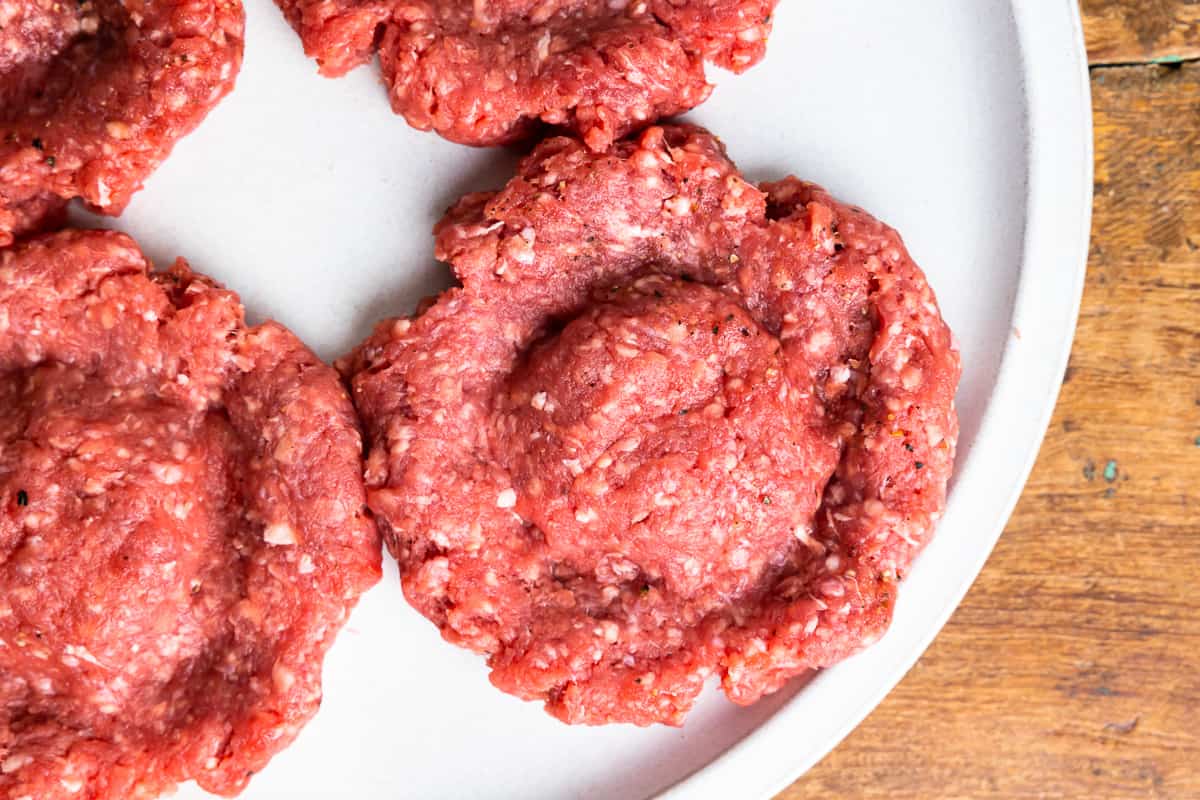
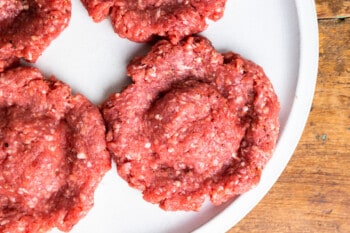
Shape the Patties: With your thumb or fingers, press a “moat”, approximately ¼-½ inch from the edge, around the circumference of the burger – be sure the edge of the burger is a little higher than the indentation. This will ensure the burger will flatten out while cooking. Repeat this process with each portion.
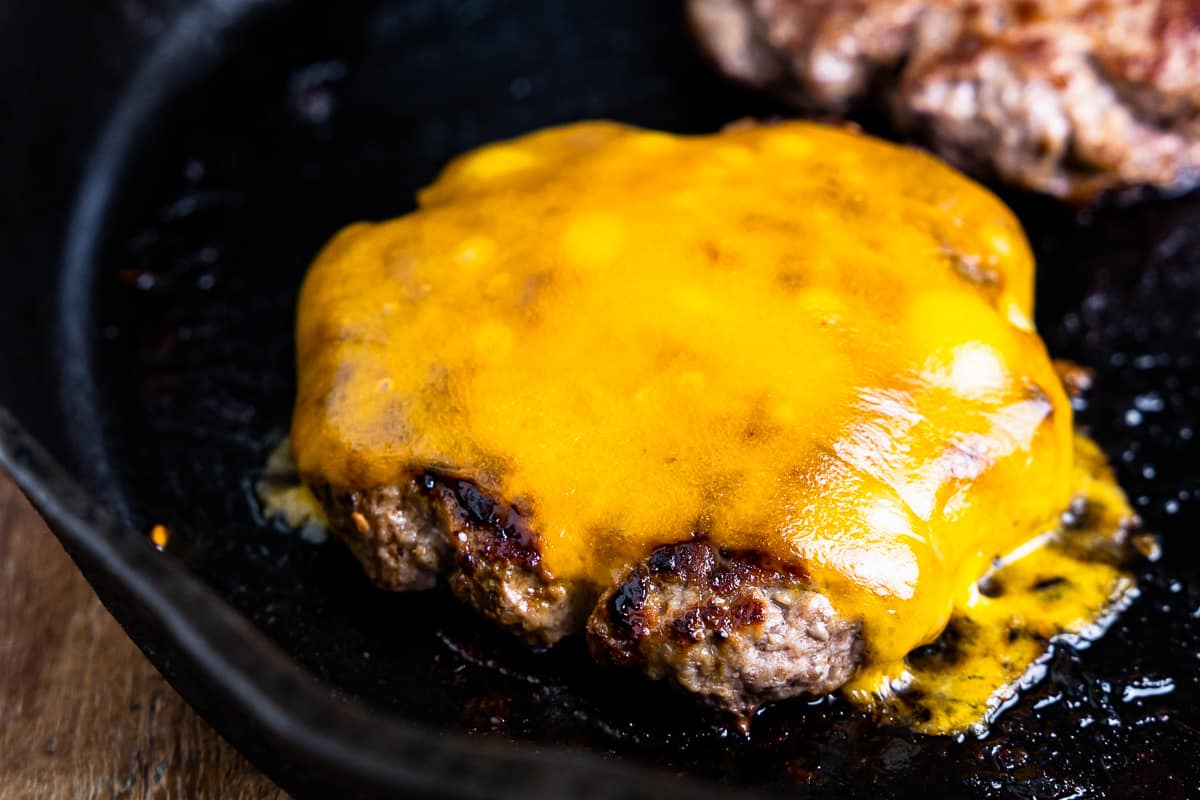
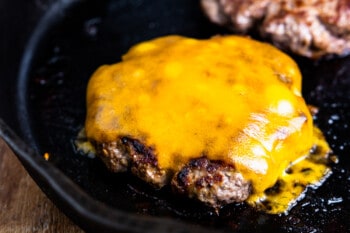
Cook the Burgers: Heat a large skillet over medium-high heat. When the pan is hot, carefully place the patties in the skillet (no need to grease skillet) leaving some space between each patty. Cook the burgers until nicely seared and they have browned halfway up the sides. Flip the burgers and cook to your liking. If adding cheese: remove the pan from the heat and place 1 slice of American or cheddar cheese atop each of the burgers. Cover the skillet and allow the residual heat/steam to melt the cheese. Serve on toasted buns topped with your favorite toppings.
Add salt, pepper, and any other seasonings you want to add directly into a mixing bowl with the ground chuck. Mix enough to evenly distribute the seasoning, but don’t overwork it. Some common seasonings (besides salt and pepper) are garlic powder, onion powder, paprika, cayenne pepper, brown sugar, and oregano.
I don’t recommend cooking burgers directly from frozen on the stovetop. Instead, defrost patties in the fridge before cooking.
The fat from the burgers should be sufficient to prevent them from sticking to the pan. A little butter or oil (or both!) can help if you’re nervous.
It’s time to flip your burgers when they have browned halfway up the sides. The meat should release easily from the pan. If it seems stuck, give it an extra minute or two before trying to flip.




Just tried it! I need some practice, but I saw the comment where the stove is too hot if it’s browning but not cooking on the inside – totally saved us!!!
So I tried the recipe with a few changes, medium ground beef, no salt and just pepper, sage and paprika and wow it was great thanks
Thanks so much for sharing what worked for you, Jim!
I forgot! When I need to melt cheese to make an egg and sausage sandwich, or even toasted cheese, I always put the sliced cheese (Havarti) on a plate in the microwave for 10 seconds to melt. Then I don’t have to worry about overcooking the sausage or over browning the toast. Perfectly melted cheese over the hamburger!
Thanks for sharing, Marcie!
Thank you so much for this recipe! It is perfect and I needed it to cook the “perfect hamburger.”
I am an extremely experienced cook who has made “advanced” recipes for over 40 years, treating my family every night to something new and fancy. It was my hobby, and I would start the preparations as soon as the kids left for school. HOWEVER, I never cooked anything like hamburgers for dinner, and when my husband recently requested a hamburger for dinner this evening—something he always orders when we eat at a restaurant—I looked up your recipe, because I was afraid I would overcook it. I followed your directions for a medium rare hamburger and he said it is the best he had ever had! Thank you again!
Thank you for sharing your experience, Marcie, and I’m glad your husband loved it. No matter how much we cook, there’s always something new to learn, so I’m happy it could be helpful to you.
Delicious ! i try in pizza and i get results its very testy i like it thanks for sharing recepie.
Thanks for stopping by!
Thank you for the recipe. It was perfection. I cook at home all the time and usually like making fancy stuff. My neighbors here in the Mississippi sticks say I’m not normal. But sometimes I like something simple and delicious and I don’t mind admitting that I do not know everything about cooking. I’d read about putting an indention in the middle of the patty. I was not impressed. I’d never heard abmaking a mote. It really makes a difference! I cooked it in a cast iron skillet and had it with steamed broccoli and garlic butter pasta on the side.
We’re so glad you were able to learn something new! Sounds like a tasty dinner!!
Great recipe and I appreciate the tip about watching the burger as it browns up the sides! I hadn’t heard that before and it helped! Thanks for posting this recipe! Also, just ignore the “Karens” of the world. You keep doing you, girl!
Thanks for letting us know, Emily!
For everyone who asked why such a basic recipe is necessary, I find it kind of rude. I’ve been cooking for decades too and found on a website – just browsing – about dimpling the middle of burgers to avoid underdone centers. Sometimes things are just missed when you learn to cook and other people are self taught without a lot of examples. I like reading basic recipes as sometimes you can learn to improve your technique.
Thanks for sharing, Cat! We can have decades of cooking under our belt and still have not learned everything!
Thanks for the basic recipe. I don’t know how to cook at all. It helped.
I fully agree. As someone who WAY overthinks things, I need to see simple things too to help me get my confidence. And not everyone is a veteran at cooking. It’s very helpful
New to cooking and this helped me! Thank you Becky!
Happy to help, Nicholas!
Delicious! I used a burger seasoning instead of S & P but did the rest as instructed, they were the best burgers I’ve ever made indoors. Don’t skip toasting the buns. It makes a world of difference. Thanks for the great tips & an amazing dinner!! :)
Thanks for sharing your success with us, Tammy!